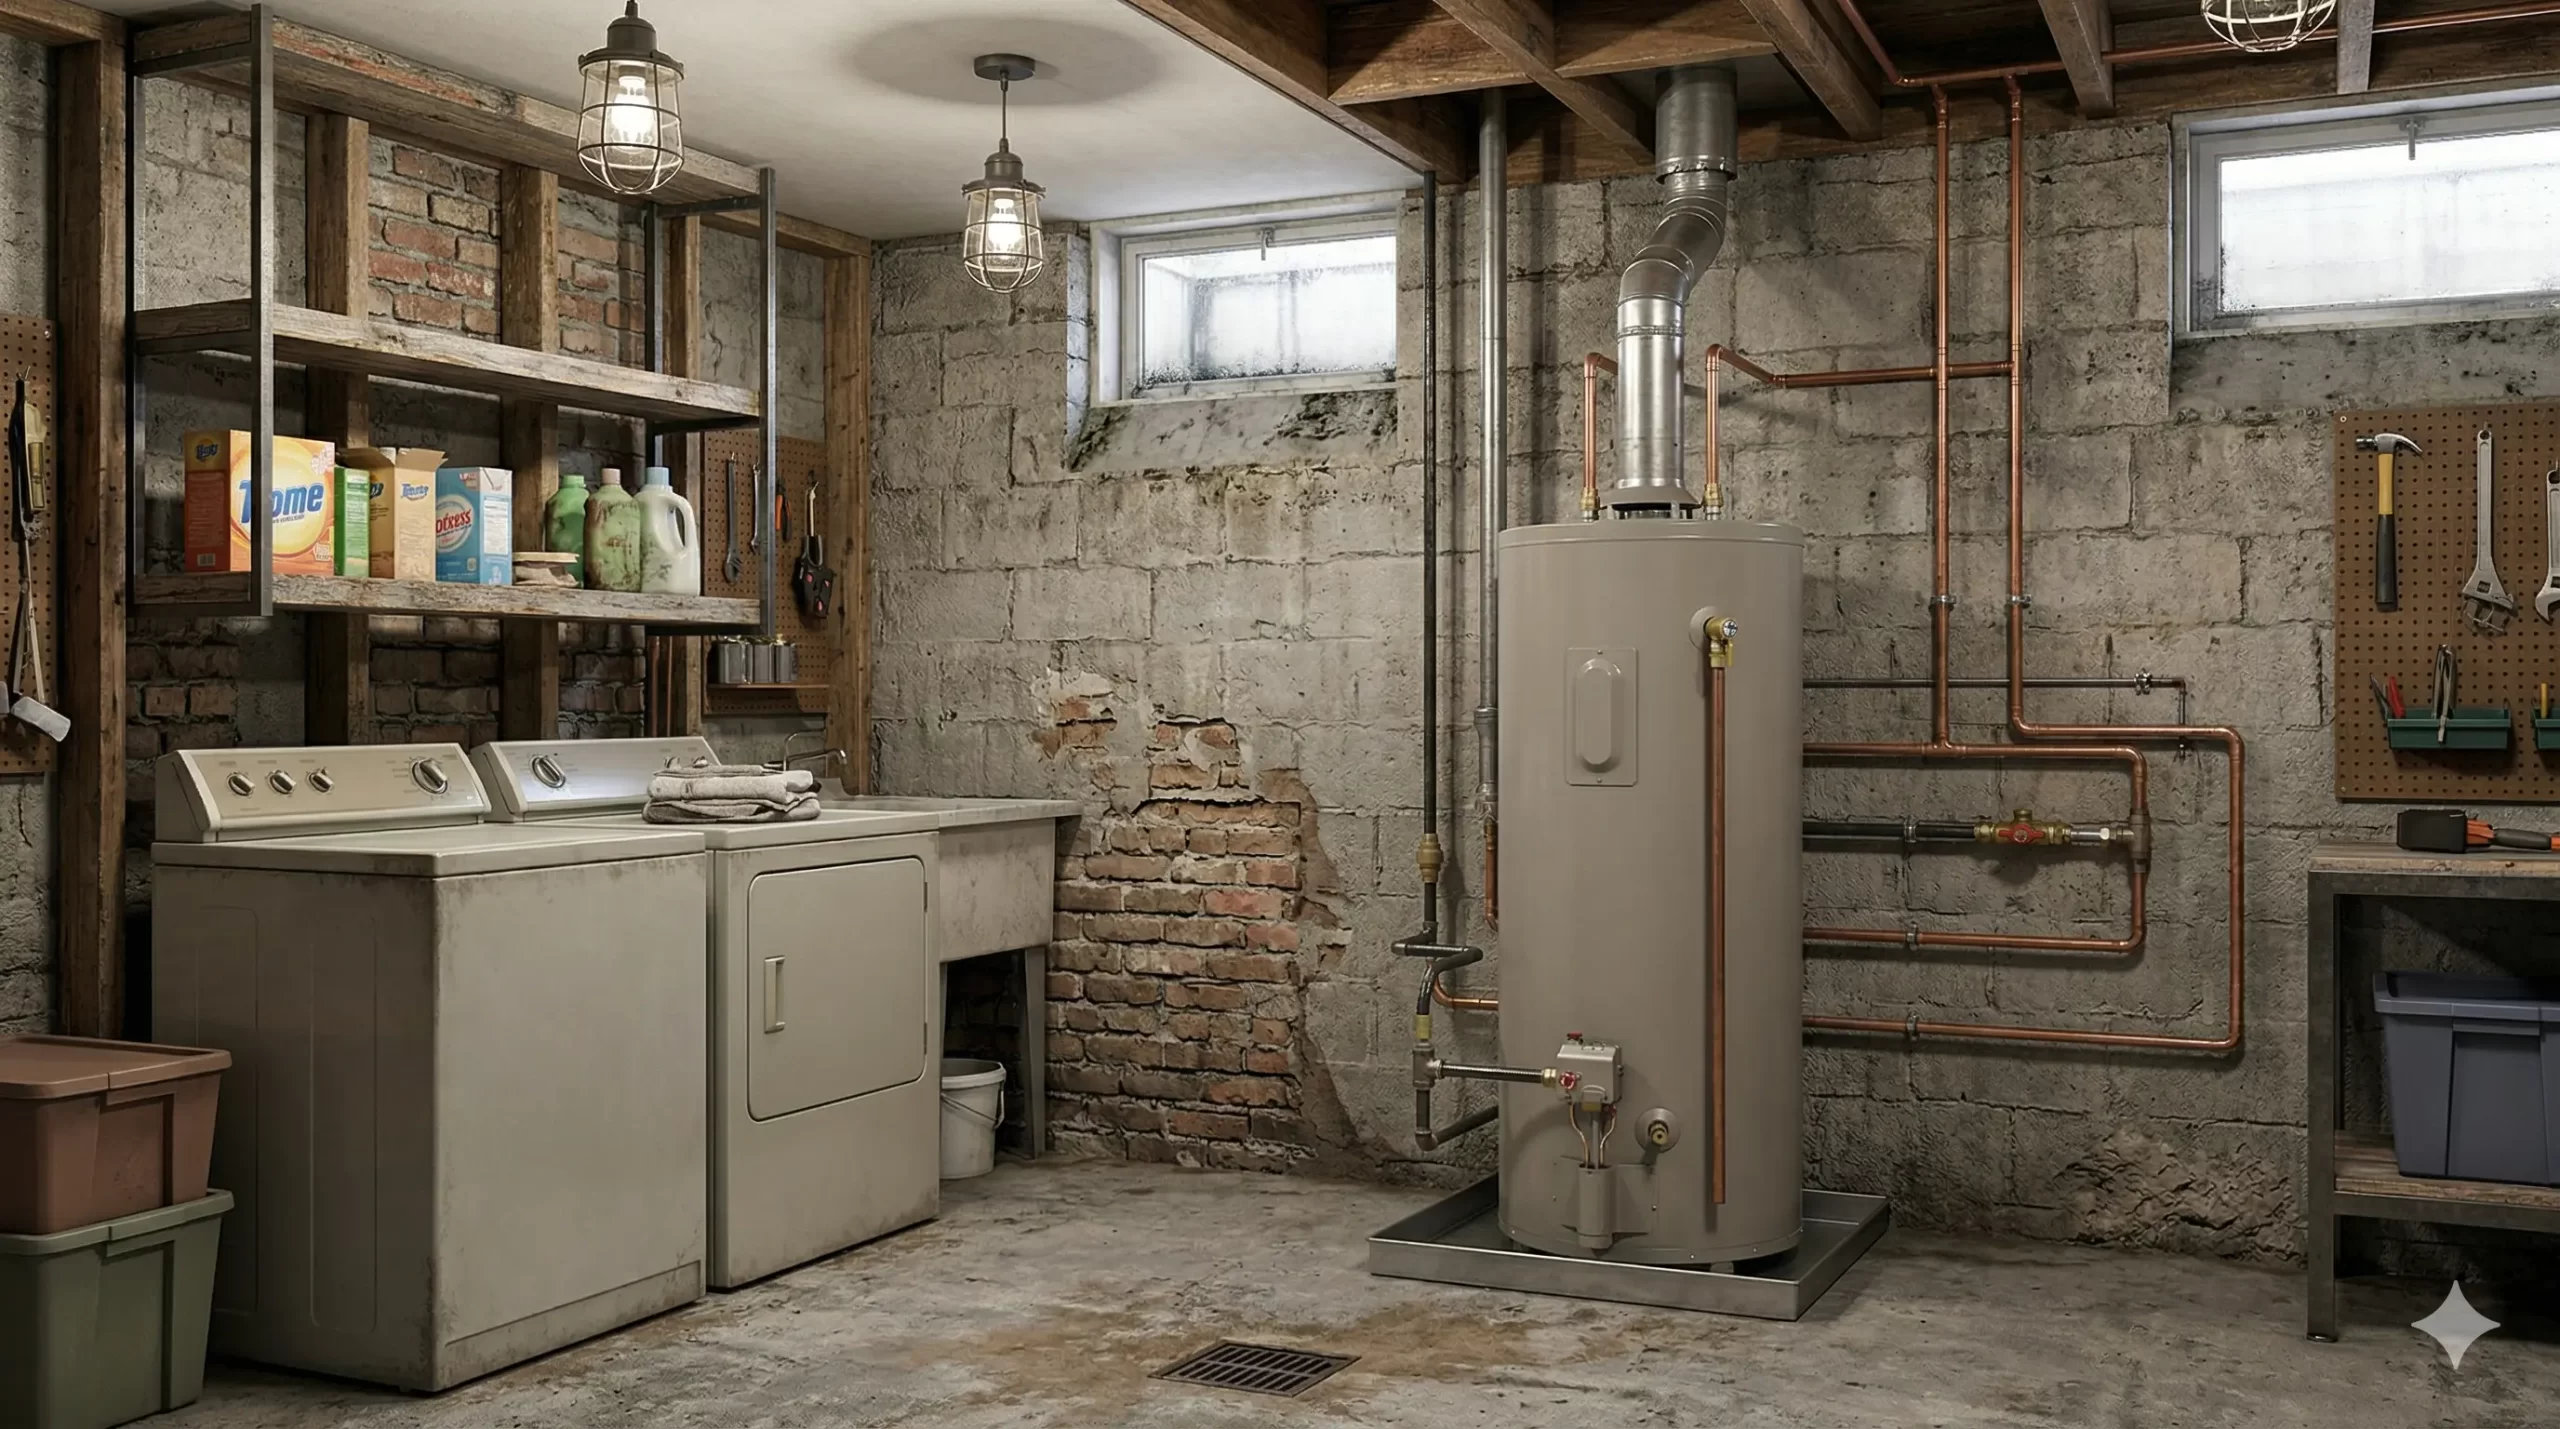
Diagnosing a Rheem water heater’s 2-flash error code. This guide details the low thermopile voltage issue and provides a pro solution for safe repair.
CRITICAL SAFETY ALERT: The 2-flash error indicates the primary flame safety mechanism is failing. Under no circumstances should you attempt to bypass or jump the thermopile terminals. This action defeats the engineered fail-safe that prevents unburned gas from filling the combustion chamber and your home. Handling the sealed burner assembly on FVIR (Flammable Vapor Ignition Resistant) models requires replacing gaskets to maintain the seal. Failure to do so can compromise the unit’s ability to prevent external vapor ignition, creating a significant fire or explosion hazard.
️ Repair Profile
Required Diagnostics Tools
Multimeter (with mV DC scale), Socket Set (7/16″, 1/2″), Nut drivers (1/4″, 5/16″), Pipe Wrench, Torx T20 driver, Compressed Air Can, Soapy Water Solution, Flashlight
Financial Breakdown: Parts vs. Licensed Labor
The thermopile is an inherently inexpensive component, comprising simple thermoelectric metals. The cost imbalance reflects the critical, skilled labor required for accurate millivolt diagnostics, meticulous disassembly of the sealed burner chamber, and the liability of ensuring a leak-free, code-compliant reinstallation.
Deep Technical Diagnosis: The Physics of the Failure
The two-flash diagnostic code on a Rheem gas water heater’s Honeywell control valve is a direct annunciation of insufficient voltage generation from the thermopile assembly. This thermoelectric device, operating on the Seebeck effect, is a series of thermocouples designed to convert the pilot flame’s thermal energy into a specific millivolt (mV) electrical potential. The Honeywell gas valve is a ‘milli-volt’ system, meaning it requires this small electrical current to energize an internal solenoid, which physically holds the main gas valve open. When the thermopile output drops below the operational threshold, typically around 400mV under load, the solenoid’s magnetic field collapses, the valve snaps shut, and the unit logs the two-flash fault. This is not a control board failure; it is the system’s primary safety interlock functioning as designed.
The root of the voltage drop is almost always a compromised thermal gradient across the thermopile’s junctions. An optimal, crisp blue pilot flame ensures a significant temperature difference, maximizing millivolt output. Any factor that degrades this process results in a system shutdown. A common culprit is a pilot flame exhibiting poor stoichiometry—an incorrect air-to-fuel ratio—leading to a lazy, yellow, carbon-producing flame that coats the thermopile. This soot acts as an insulator, obstructing heat transfer and crippling voltage generation. Similarly, a clogged Flammable Vapor Ignition Resistant (FVIR) screen at the heater’s base can starve the entire sealed combustion chamber of primary air, causing oxygen-deficient combustion that cannot generate sufficient heat. An inspection with a manometer may show proper inlet gas pressure, yet the fault persists, confirming the issue is localized to the pilot assembly’s environment or the thermopile’s internal condition.
- Soot Impingement: Carbon buildup on the thermopile shaft from incomplete combustion acts as a thermal insulator, preventing the necessary heat transfer.
- Pilot Orifice Contamination: Debris or oil residue partially blocking the pilot orifice, resulting in a small, wavering flame that does not fully engulf the thermopile tip.
- Combustion Air Starvation: A clogged FVIR screen or obstructed air intake path reduces available oxygen, leading to a weak, low-temperature pilot flame.
- Internal Thermopile Degradation: Over time, the dissimilar metals within the thermopile can degrade due to thermal cycling, increasing internal ohmic resistance and permanently reducing its voltage-generating capacity.
- Improper Pilot Flame Alignment: The pilot hood may have been knocked out of position, causing the flame to inadequately heat the thermopile’s ‘hot junction’, even if the flame itself is strong.
US Building Codes & Plumbing Regulations
The functionality of the thermopile is directly governed by national fuel gas codes, specifically NFPA 54, Section 9.6.7, which mandates an automatic ignition system with a proven pilot or a direct ignition device. The 2-flash error demonstrates compliance with this code; the control system has correctly identified a ‘flame failure’ (in this case, a thermally weak flame) and initiated a safety shutdown. The thermopile acts as the ‘flame proving’ component in this system. Attempting to override this safety mechanism is a direct violation of the code’s intent, which is to prevent the flow of gas when a stable, effective ignition source is not present.
Furthermore, the root cause often implicates the Uniform Plumbing Code (UPC), Section 507.2, concerning adequate combustion air. The low thermopile voltage is frequently a symptom of a clogged FVIR screen, which constitutes a violation of the requirement for ‘sufficient air for complete combustion.’ An inspector would identify the resulting sooting and weak pilot as evidence that the appliance is not receiving the necessary air volume as stipulated by its design and listing. Therefore, the 2-flash code serves as a critical diagnostic alert that the unit may not only have a failing part but may also be operating in a condition that violates fundamental code requirements for safe and complete combustion.
Professional Master Plumber Repair Sequence
- Confirm Fault & Initiate Safety Protocol: Verify the Honeywell LED is consistently flashing twice, pausing, and repeating. Turn the gas control knob to the ‘OFF’ position. Shut off the main gas supply valve servicing the appliance.
- De-energize & Prepare for Access: Turn the water heater’s temperature dial to the lowest setting. Remove the outer metal burner access cover and the inner gasketed cover, typically secured by Torx screws. Note the condition of the gasket for reassembly.
- Disconnect Thermopile for Testing: Locate the two wire leads originating from the pilot assembly connected to the gas control valve. Carefully disconnect these leads. They are often spade or screw-in terminals.
- Perform a Live Millivolt Load Test: Temporarily reconnect the gas supply and follow the manufacturer’s lighting procedure to light ONLY the pilot. Set your multimeter to the DC millivolts (mV) scale. Connect the multimeter probes directly to the two disconnected thermopile leads.
- Analyze Voltage Output: A healthy thermopile, fully engulfed in a proper pilot flame, must generate a minimum of 400mV DC, and often reads between 500-700mV. A reading below 400mV confirms the thermopile is the cause of the 2-flash code. Proceed to shut down the pilot and gas supply again.
- Inspect & Clean Pilot Assembly and FVIR Screen: Visually inspect the pilot orifice and hood for carbon buildup or debris. Use a can of compressed air to clean the assembly thoroughly. At the base of the heater, inspect the FVIR screen for lint, dust, or other blockages and clean it gently with a soft brush.
- Re-Test or Prepare for Replacement: If significant buildup was found and cleaned, you may re-run the millivolt test (Step 4 & 5). If the reading remains low, the thermopile has failed internally and requires replacement.
- Replace Pilot/Thermopile Assembly: Disconnect the pilot gas tube and main burner tube from the gas valve. Remove the entire burner assembly from the combustion chamber. Carefully replace the thermopile or the entire pilot assembly per manufacturer specifications, ensuring the new component is correctly positioned.
- Reassemble and Verify Seal: Reinstall the burner assembly, ensuring the new door gasket is properly seated to maintain the integrity of the sealed combustion chamber. Reconnect all gas tubes and electrical leads.
- Perform Leak Test and Return to Service: Slowly turn the main gas supply on. Using a soapy water solution, check all disturbed fittings for bubbles, indicating a gas leak. If no leaks are present, follow the lighting instructions to return the unit to normal operation, confirming the status light is now solid (not flashing).
Expert Verdict: Is It Worth Repairing?
For a Rheem gas water heater exhibiting the 2-flash error, the repair-versus-replace decision hinges almost entirely on the unit’s age and overall condition. The repair itself, typically a thermopile replacement, is a high-value proposition. The component cost is minimal (often under $50), while professional labor constitutes the bulk of the expense ($200-$400). For any Rheem unit under 8-10 years of age and free of tank corrosion or weeping, this repair offers an exceptional Return on Investment (ROI), extending the heater’s service life for a fraction of the replacement cost.
However, if the water heater is approaching or has exceeded its typical 10-12 year lifespan, investing several hundred dollars into a single component becomes financially questionable. The 2-flash error can be the first of multiple age-related failures. In this scenario, the repair cost should be viewed as a down payment on a new, more efficient unit. Replacing an aging heater preemptively avoids a future emergency replacement when the tank inevitably fails, providing an opportunity to upgrade to a model with better energy efficiency and a new warranty, offering superior long-term value and peace of mind.
Frequently Asked Questions (FAQ)
Q: Can I just clean the rod on the thermopile to fix the 2 flashes?
A: Sometimes, yes. If the low voltage is caused by a layer of carbon soot insulating the thermopile, cleaning it with a soft cloth or steel wool can restore proper heat transfer and fix the issue. However, if the component has failed internally due to age, cleaning will have no effect and replacement is necessary.
Q: Why is my brand new thermopile still causing a 2 flash error?
A: This indicates the problem is not the thermopile itself, but the pilot flame heating it. The root cause is likely an obstructed pilot orifice creating a weak flame, or a clogged FVIR screen at the heater’s base, which is starving the entire combustion chamber of the oxygen needed for a hot, stable flame.
Q: Is a Rheem 2 flash error code dangerous?
A: The error code itself signifies the safety system is working correctly by shutting the unit down. The danger arises if the underlying cause—such as a severely blocked air intake (FVIR screen)—is ignored, as this can lead to incomplete combustion, sooting, and the production of carbon monoxide if the chamber seal is ever compromised.
Q: Does the 2 flash code mean I have a gas leak?
A: No, this specific code is not an indicator of an external gas leak. It exclusively relates to the flame-proving circuit, meaning the control valve does not detect a sufficiently strong pilot flame to safely open the main gas valve. A gas leak would have a distinct rotten egg smell and is a separate, more immediate emergency.