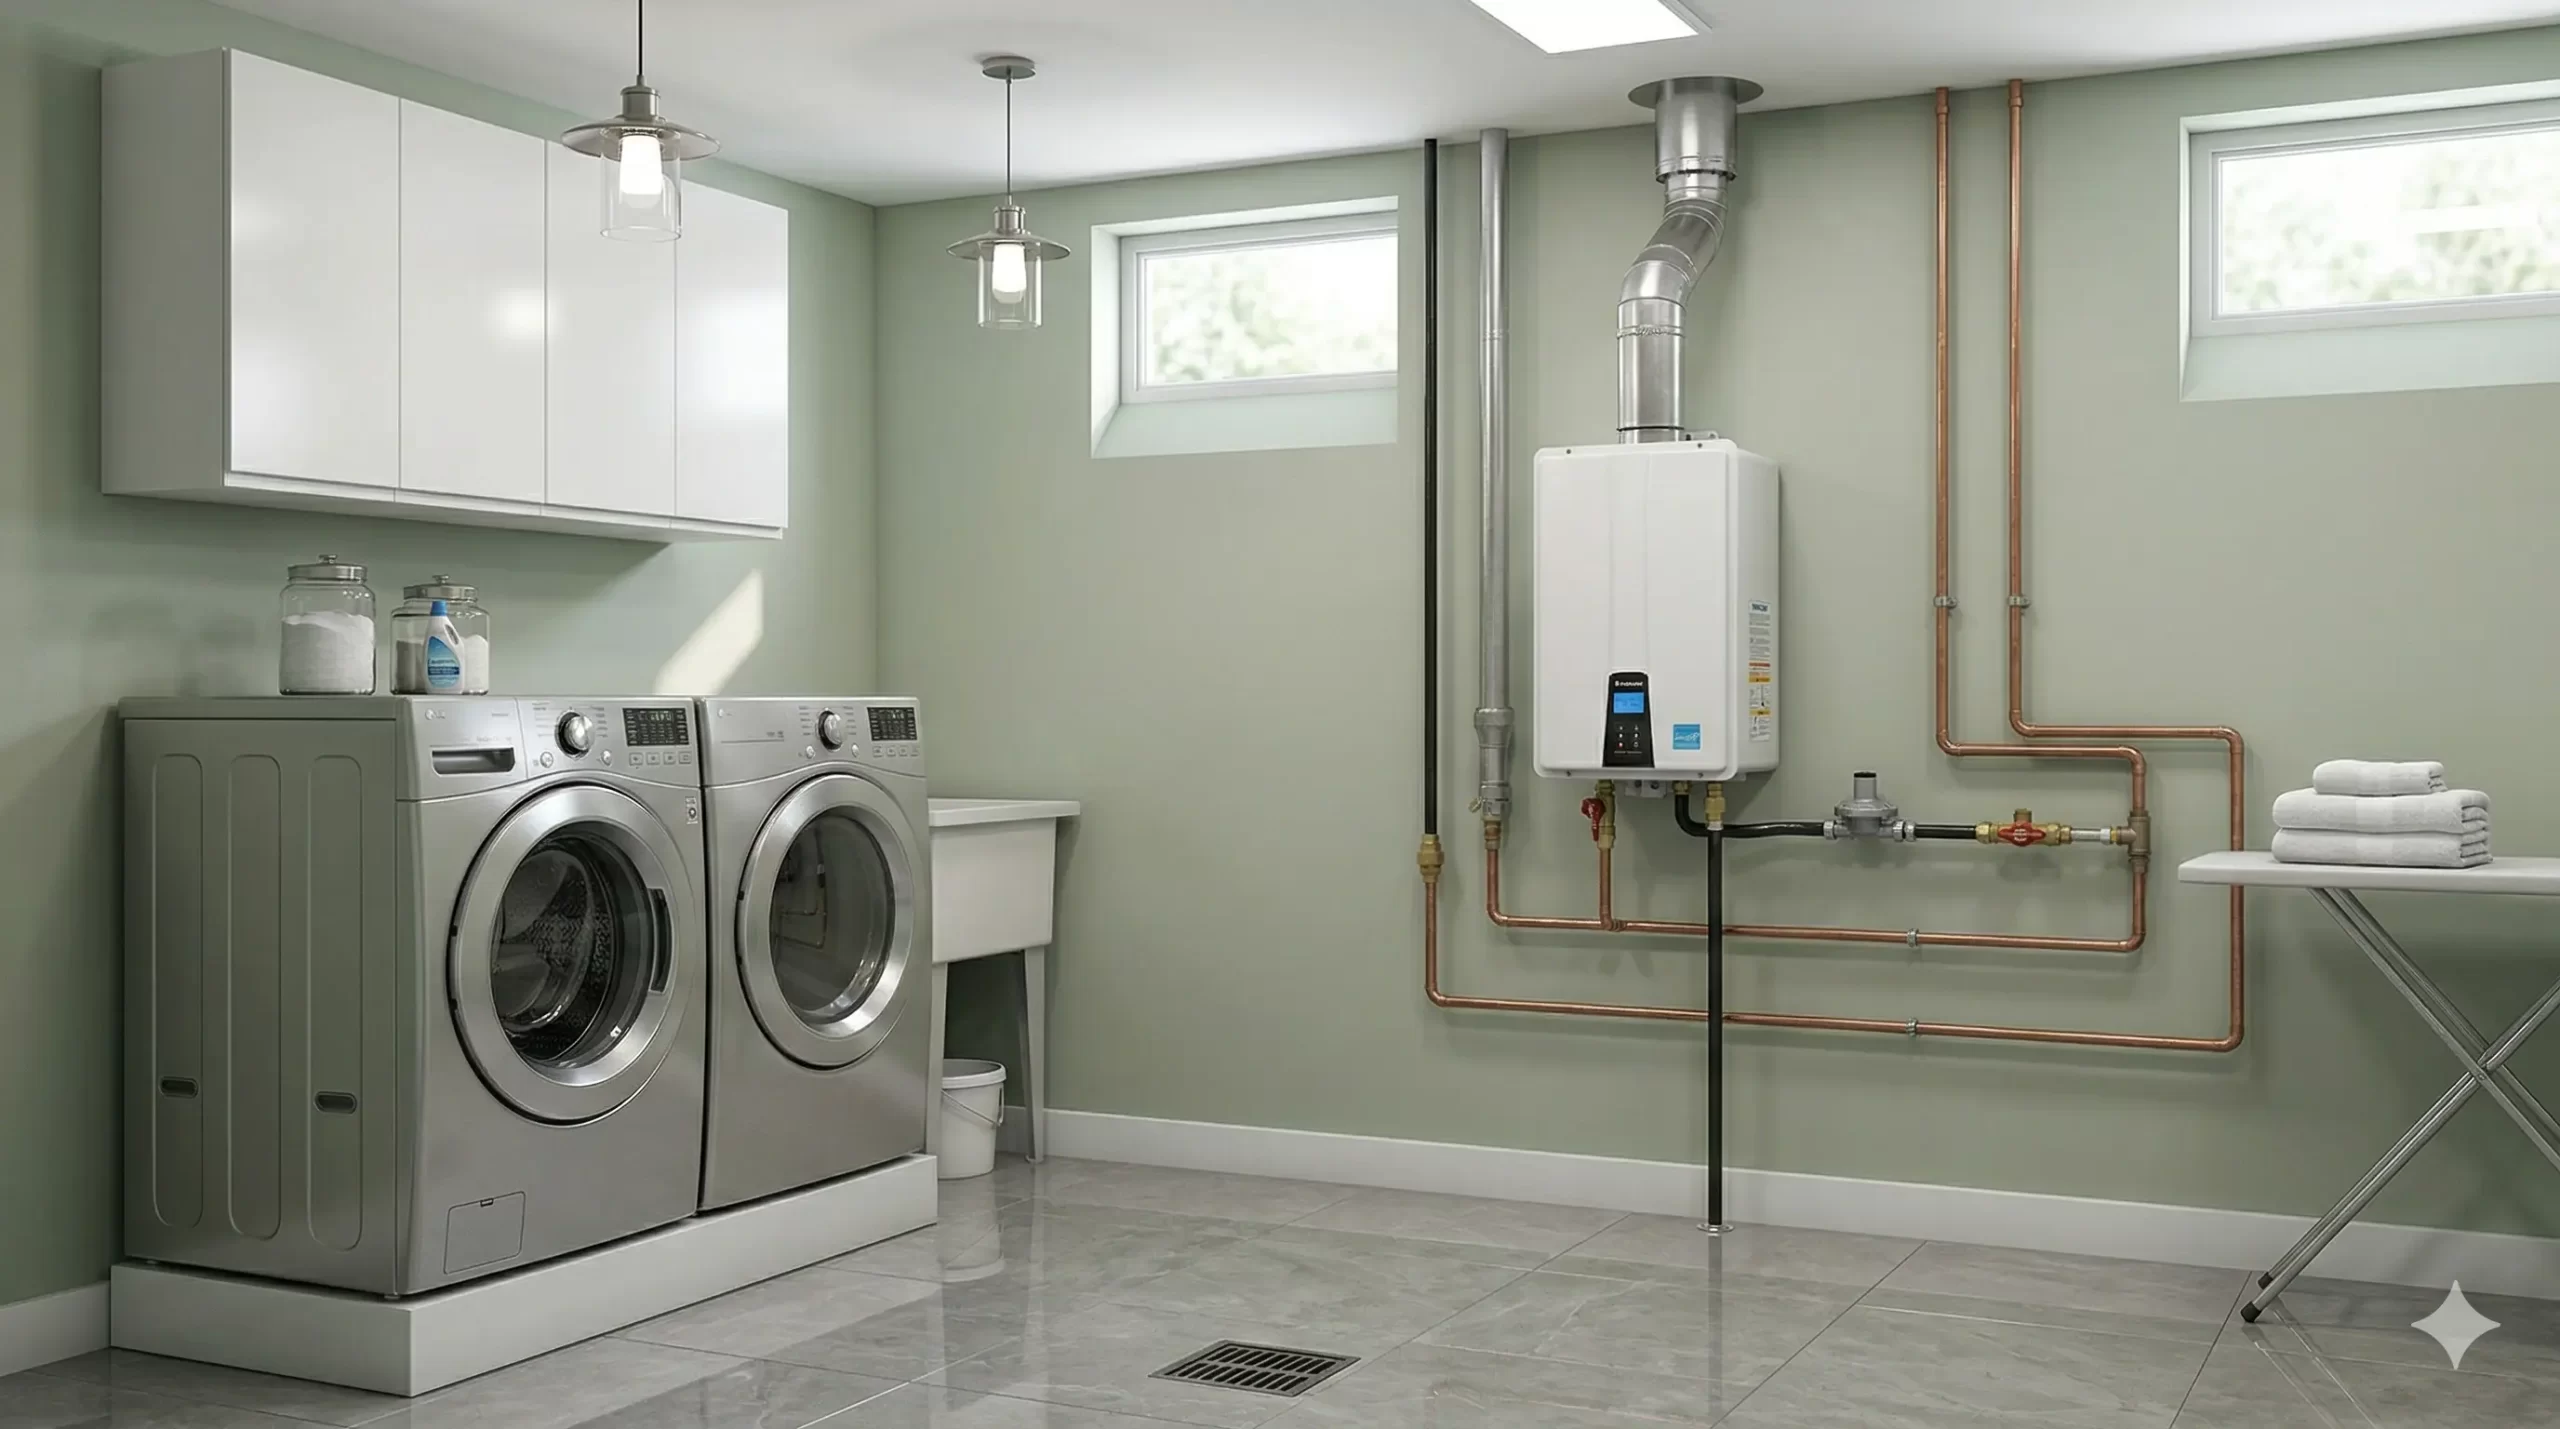
A Rheem gas water heater’s 5-flash error indicates a failed thermistor. This guide covers diagnosing the open/shorted sensor circuit and replacing the valve.
️ Repair Profile
Required Diagnostics Tools
Multimeter, Pipe Wrenches (2), Channel-Lock Pliers, Phillips & Flathead Screwdrivers, Garden Hose, Bucket, Gas-rated Pipe Dope or Teflon Tape, Wire Brush, Gas Leak Detection Solution
Financial Breakdown: Parts vs. Licensed Labor
The cost distribution is heavily weighted towards the part because the gas control valve is a complex, factory-sealed assembly integrating the thermistor, microprocessor, and safety controls. Labor, while requiring certified expertise for gas line work, is a more standardized procedure of draining, swapping, and testing the unit.
Deep Technical Diagnosis: The Physics of the Failure
A 5-flash diagnostic code on a Rheem gas control valve indicates a definitive failure within the water temperature sensing circuit. The core of this circuit is a Negative Temperature Coefficient (NTC) thermistor, a semiconductor whose electrical resistance decreases predictably as temperature increases. The unit’s microprocessor sends a reference voltage through the thermistor and measures the resulting signal in millivolts to calculate the precise water temperature. A ‘5 flash’ error is triggered when the control board detects a resistance reading that is critically out of its expected range—either near-infinite resistance (an open circuit) or near-zero resistance (a short circuit).
An open circuit typically occurs when the delicate internal wiring of the thermistor fractures due to thermal stress cycles or vibration. The control board registers this as an infinite impedance path, which is an impossible temperature reading, initiating an immediate safety lockout. Conversely, a short circuit can be caused by internal component failure or, more insidiously, by water ingress past a failing seal, creating a conductive path that bypasses the resistive element. This low-resistance reading would be interpreted as an extremely high, unsafe temperature, also triggering a hard lockout. Before total failure, the thermistor may provide erratic readings, causing fluctuations in burner operation as the control attempts to maintain a setpoint based on faulty data. This can negatively impact the unit’s ability to achieve proper stoichiometric combustion, potentially leading to increased carbon monoxide production. A technician would use a multimeter set to ohms (Ω) to test the thermistor leads (with power off); a healthy sensor at room temperature (~77°F) should read approximately 10,000 ohms (10kΩ). A reading of ‘O.L.’ (Over Limit) confirms an open circuit, while a reading near 0Ω confirms a short.
- Internal Wire Fracture: The most common cause, where repeated expansion and contraction from heating cycles physically breaks the internal filament of the NTC thermistor.
- Seal Failure and Water Intrusion: The seal around the thermistor probe degrades, allowing tank water to penetrate the sensor housing, causing a direct electrical short.
- Connector Corrosion: Oxidation or moisture at the Molex connector between the thermistor leads and the main control board can create excessive resistance, mimicking an open circuit.
- Control Board Fault: In rare cases, the analog-to-digital converter on the control board itself fails, preventing it from correctly interpreting the signal from a perfectly functional thermistor.
- Calcification Bridging: Severe mineral scale can build up and physically damage the sensor or create an alternative electrical path on the exterior of the probe, leading to erroneous readings.
US Building Codes & Plumbing Regulations
When addressing a 5-flash error by replacing the gas control valve, adherence to the NFPA 54 (National Fuel Gas Code) is non-negotiable. Specifically, NFPA 54, Section 7.1.2 mandates that any new gas valve installation must be preceded by a verification of a properly installed and clean sediment trap (drip leg) on the gas supply line. This prevents particulate matter from fouling the new valve’s internal components. Furthermore, upon completion, Section 8.2 requires a thorough leak test of all disturbed gas piping connections using a calibrated manometer or an approved non-corrosive leak detection fluid. The test must confirm zero pressure drop or bubble formation before the appliance is returned to service, ensuring the integrity of the gas-tight seal.
The Uniform Plumbing Code (UPC) also imposes strict requirements relevant to this repair. UPC Section 1210.1 demands that an approved manual gas shutoff valve be readily accessible and located within six feet of the appliance. During the valve replacement, the technician must confirm this valve’s functionality. Moreover, UPC Section 1212.1.3 governs the application of joint compounds on male threads only. Using an excessive amount or applying it to female threads can cause the compound to squeeze into the gas stream, potentially obstructing orifices or damaging sensitive components within the new control valve, leading to a repeat failure or hazardous operating conditions.
Professional Master Plumber Repair Sequence
- Safety Protocol Initiation: Turn the gas control valve knob to the ‘OFF’ position. Locate the main gas shutoff valve on the supply line to the water heater and turn it to the closed position (typically a quarter turn so it is perpendicular to the pipe). Shut off the cold water supply valve to the tank.
- System Depressurization and Draining: Open a hot water faucet somewhere in the building to relieve pressure. Connect a garden hose to the drain valve at the bottom of the tank and route it to a floor drain or outside. Open the drain valve and the T&P valve to allow air in and facilitate a full drain. This will take 30-60 minutes.
- Component Disconnection: Carefully disconnect the burner assembly door and any electrical connections to the gas control valve, such as the piezo igniter wire and any sensor harnesses. Note their locations. Using two pipe wrenches (one for backup to prevent stressing the tank connections), carefully disconnect the main gas supply line from the control valve.
- Remove Old Gas Control Valve: The gas control valve is threaded directly into the tank spud. Using a large pipe wrench, carefully unthread the entire valve assembly from the tank by turning it counter-clockwise. Be prepared for some residual water to spill out.
- Prepare Tank Threads: Once the old valve is removed, inspect the threads on the tank spud. Clean them thoroughly with a wire brush to remove any old pipe dope, tape, and corrosion. Wipe the threads clean with a rag.
- Install New Gas Control Valve: Apply a moderate amount of gas-rated Teflon tape or pipe joint compound to the male threads of the new gas control valve ONLY. Carefully thread the new valve into the tank spud by hand to avoid cross-threading. Tighten it with a pipe wrench until it is snug and properly oriented (typically 1-2 full turns past hand-tight). Do not overtighten.
- Reconnect All Lines: Reconnect the burner manifold tube, main gas supply line, piezo igniter, and any other electrical harnesses to the new control valve. Ensure all connections are secure. Use a backup wrench when tightening the gas line fitting.
- Refill the Tank: Close the drain valve. Open the cold water supply valve to begin refilling the tank. Keep the hot water faucet open elsewhere in the house; once water flows steadily from it, the tank is full. Check for any water leaks around the new valve’s threads.
- Gas Leak Test and Commissioning: Open the main gas shutoff valve. Using a gas leak detection solution, coat every joint and fitting you disturbed. Look for bubbles, which indicate a gas leak. If a leak is found, shut off the gas and tighten the connection. Once confirmed leak-free, follow the manufacturer’s specific lighting instructions printed on the heater to relight the pilot and return the unit to service.
Expert Verdict: Is It Worth Repairing?
Evaluating the return on investment for replacing a Rheem gas control valve due to a 5-flash error hinges almost entirely on the water heater’s age and overall condition. If the appliance is less than 6-7 years old and shows no signs of tank corrosion or weeping from seams, the repair is a financially sound decision. The cost, typically $400-$650, is a fraction of the $1,500-$2,500 cost of a full replacement with installation. Since the 5-flash error is an electronic component failure and not an indicator of tank integrity, a successful repair can realistically extend the unit’s service life by several more years, yielding a high ROI.
However, if the water heater is approaching or has surpassed its 10-year expected lifespan, investing in a new gas control valve represents a poor economic choice. The likelihood of the tank itself failing due to corrosion shortly after the repair is extremely high. In this scenario, the repair cost becomes a sunk cost on top of the imminent replacement expense. It is far more prudent to apply the repair funds directly toward a new, higher-efficiency unit, which will also provide the benefits of a new warranty and lower operating costs.
Frequently Asked Questions (FAQ)
Q: Can I just replace the temperature sensor instead of the whole gas valve on my Rheem heater?
A: On the vast majority of modern Rheem gas water heaters featuring electronic controls, the thermistor (temperature sensor) is permanently integrated into the gas control valve assembly. It is not designed to be a separately serviceable or replaceable part. This integration ensures a factory-calibrated, sealed system, but it necessitates replacing the entire gas control valve when the sensor fails and triggers the 5-flash code.
Q: Could a power surge or electrical storm cause the 5-flash error code?
A: Yes, it’s possible. While the thermistor itself is a simple resistor, the microprocessor on the gas control valve’s circuit board is sensitive to voltage irregularities. A significant power surge could damage the board’s internal circuitry that interprets the thermistor’s resistance signal. This damage can cause the control to incorrectly register an open or shorted circuit, thus displaying the 5-flash error even if the thermistor is technically functional.
Q: Will my water heater still produce any hot water with an active 5-flash error?
A: No. The 5-flash code indicates a critical failure in the temperature monitoring system. For safety, the unit’s control board will enter a hard lockout mode, preventing the main burner from igniting under any circumstances. The system cannot safely heat water if it cannot accurately measure its temperature, so it shuts down all heating operations until the fault is corrected.
Q: How does mineral buildup or scale inside the tank affect the temperature sensor?
A: Heavy calcification and mineral scale can directly impact the thermistor’s function and lead to a 5-flash failure. As scale encrusts the sensor probe, it acts as an insulator, slowing the transfer of heat from the water to the thermistor. This can cause erratic temperature readings and inefficient burner cycling. In severe cases, the physical stress of the scale buildup or the corrosive environment it creates can physically damage the sensor probe or its seal, leading to an internal short or an open circuit, which triggers the error code.