A.O. Smith pilot goes out with the door on? This indicates a clogged FVIR air intake. Our guide details cleaning the flame arrestor to restore combustion air.
This symptom indicates a critical failure in the unit’s combustion air supply, creating an immediate and significant Carbon Monoxide (CO) poisoning risk. An oxygen-starved flame produces dangerously high levels of CO. Attempting to operate the heater in this condition, even for short periods, can release this colorless, odorless gas into your home. The outer door is a non-negotiable safety component of the sealed combustion chamber. Never operate the unit without it properly installed. Immediate shutdown and professional service are required.
️ Repair Profile
Required Diagnostics Tools
Flexible wire brush, Shop-vac with attachments, Socket/Nut driver set, Pipe wrench, Pipe thread sealant, Flashlight, Manometer, CO detector
Financial Breakdown: Parts vs. Licensed Labor
This repair’s cost is overwhelmingly weighted towards the technician’s diagnostic and procedural labor, as the solution is a meticulous cleaning process, not parts replacement. The small parts allocation accounts for incidental items like a burner door gasket or pipe sealant, while the majority reflects the expertise needed to safely service the gas burner assembly.
Deep Technical Diagnosis: The Physics of the Failure
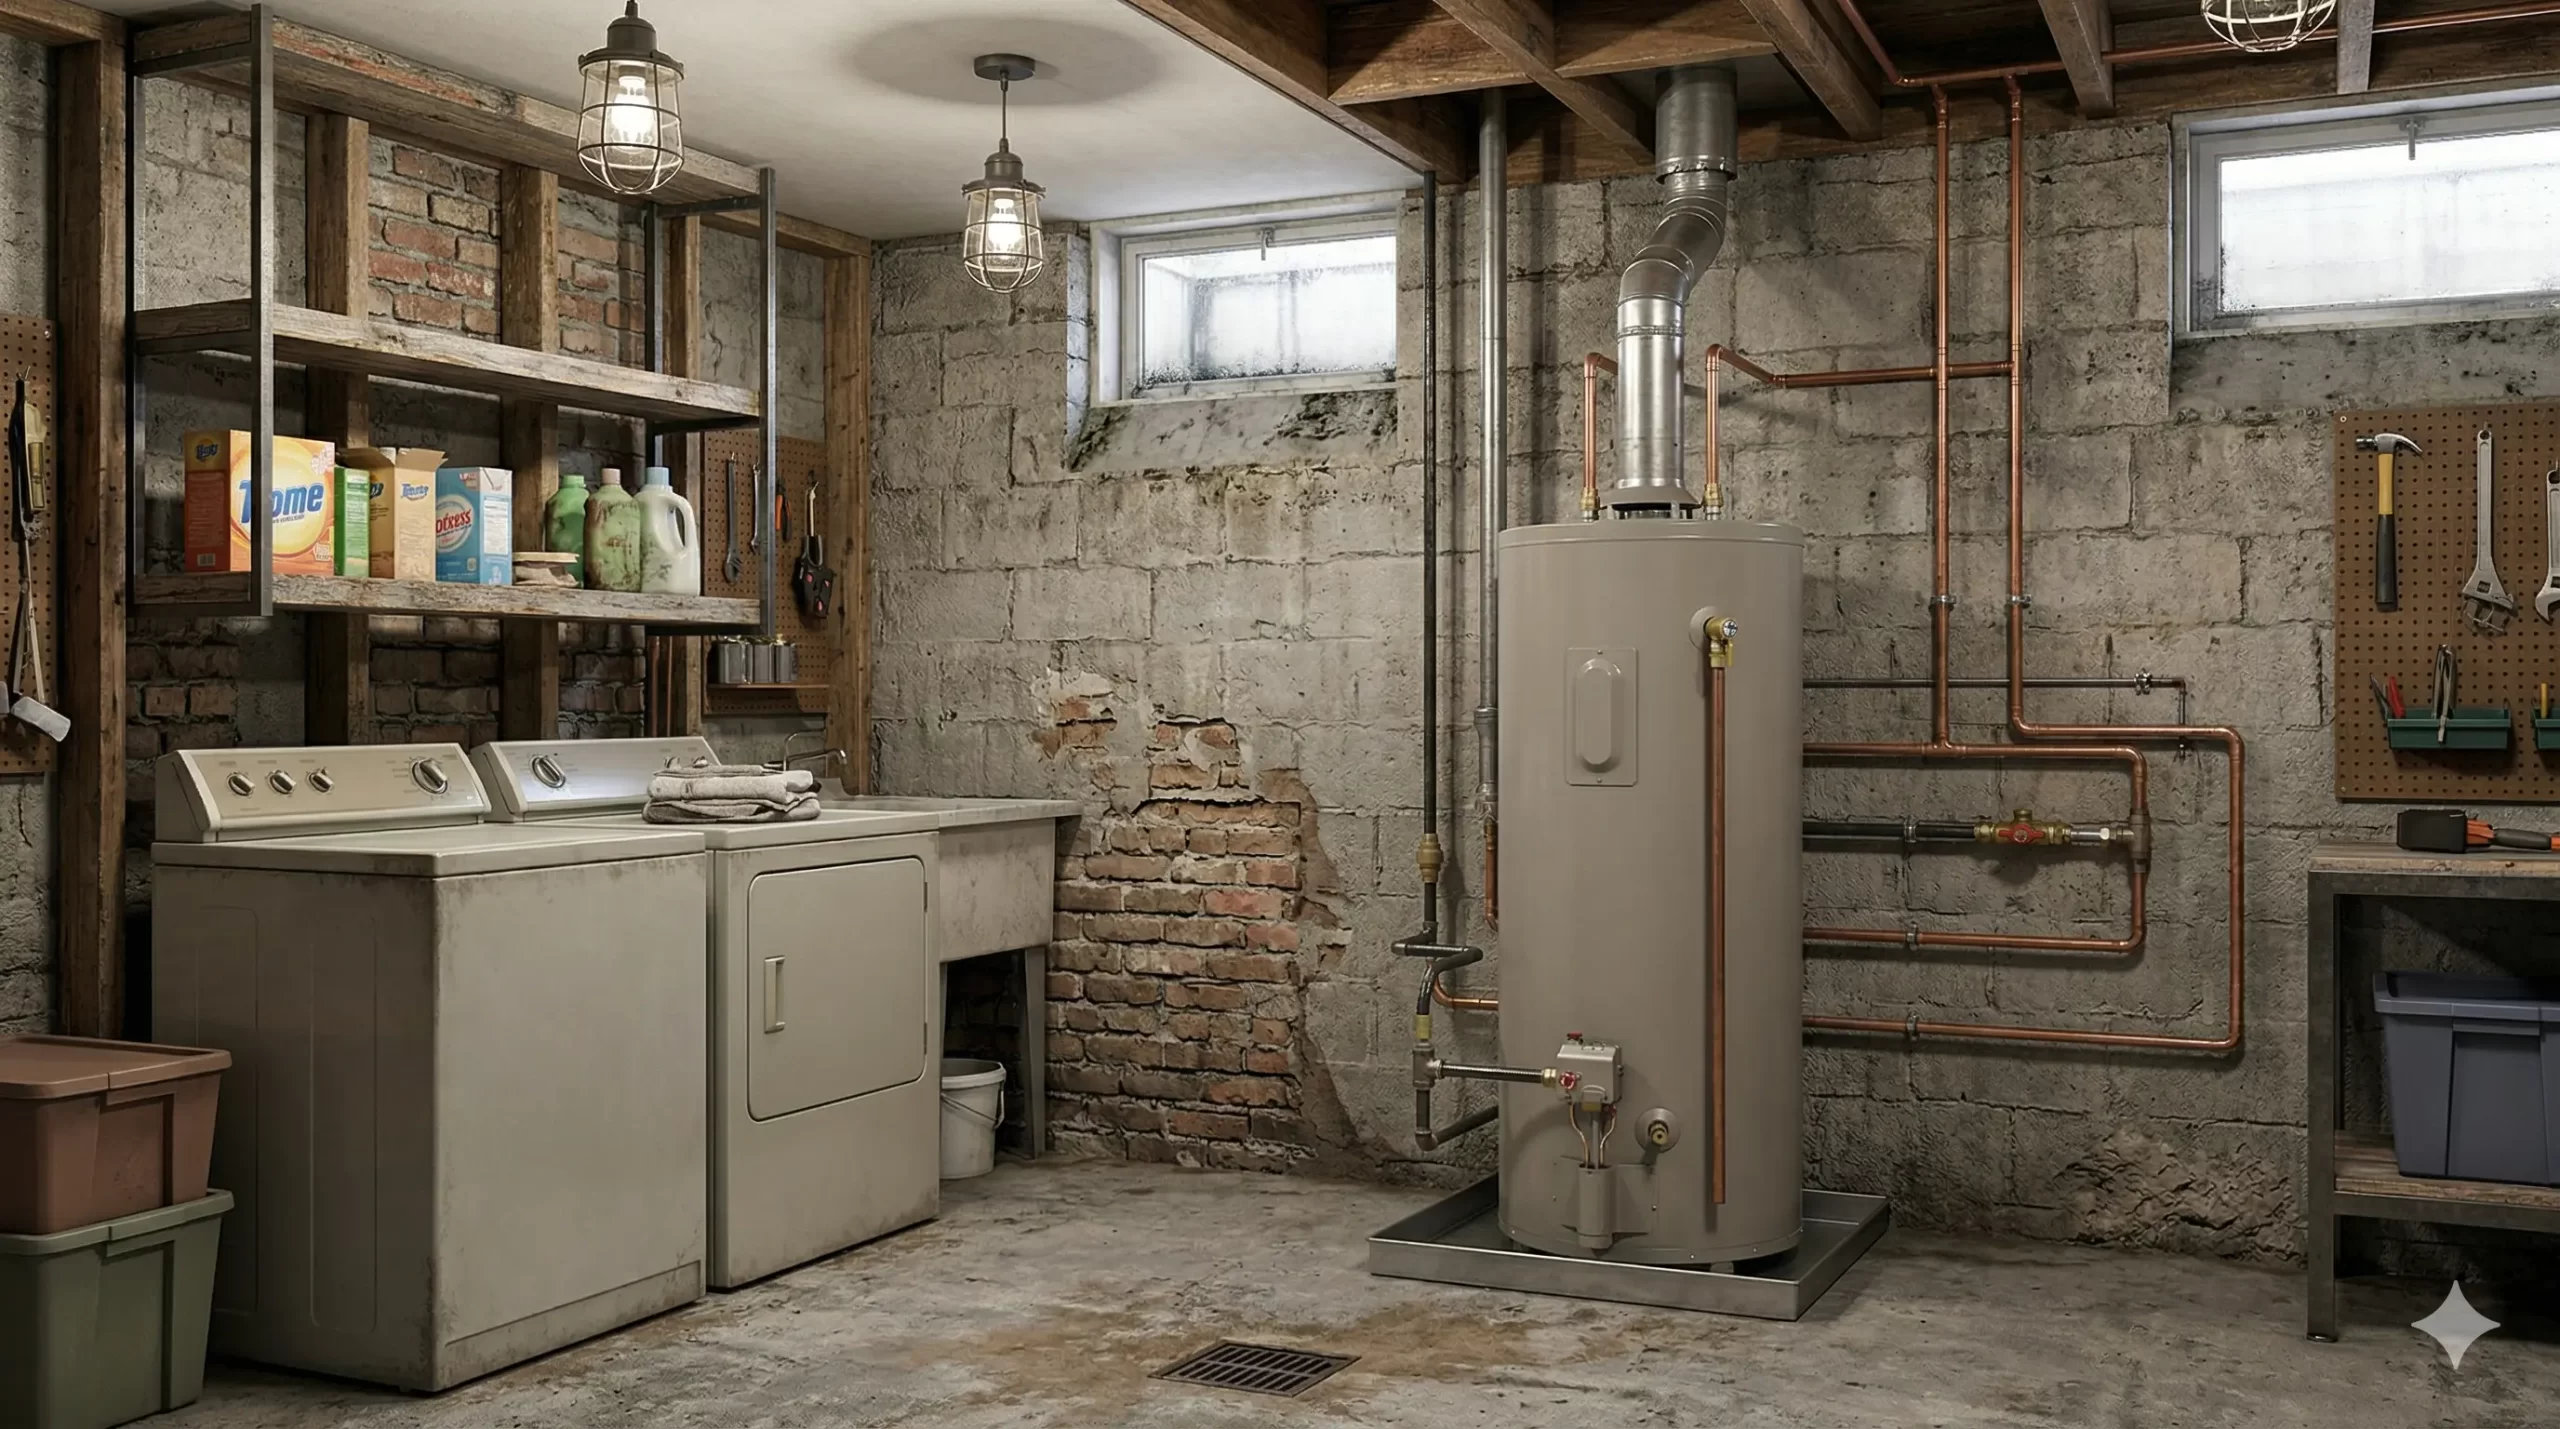
The described symptom—a pilot flame extinguishing precisely when the burner access door is secured—is a classic indicator of combustion air starvation in an A.O. Smith Flammable Vapor Ignition Resistant (FVIR) system. The core issue lies with a severely occluded flame arrestor plate, the engineered screen at the base of the sealed combustion chamber. This component is designed to permit air ingress while preventing flame egress. When it becomes clogged, the stoichiometric balance required for stable combustion is catastrophically disrupted. Initially, with the door off, the pilot can draw sufficient secondary air from the room through the access opening to maintain a flame, albeit an inefficient one. The thermocouple, bathed in this weak flame, can still generate its required millivolts (typically 20-30mV) to hold the pilot valve open.
However, the moment the outer door is installed, it seals the combustion chamber as designed. This action eliminates the illicit air source and forces the system to rely solely on its primary, engineered air intake path through the FVIR flame arrestor. With this path blocked by contaminants, a profound negative pressure develops within the chamber as the pilot consumes the residual oxygen. The flame lifts, cools, and detaches from the thermocouple tip. The millivolt signal collapses, causing the gas control valve’s safety magnet to drop out and shut off the gas flow. A manometer connected to the gas valve would show proper static and operating pressure, ruling out a gas supply issue and isolating the fault to the air side of the combustion triangle. The flame is literally suffocating.
The root causes of this occlusion are environmental and accumulate over time:
- Household Dust and Lint: The most common culprits, drawn in by the unit’s natural draft.
- Pet Dander and Hair: Highly problematic in homes with animals, as it quickly mats and obstructs the screen.
- Drywall or Sawdust: Construction debris from renovations is a primary cause of rapid and severe blockages.
- Proximity to Laundry Appliances: Heaters installed near dryers are subject to a constant influx of airborne lint.
This failure mode is a direct consequence of a compromised air intake system, preventing the appliance from achieving the proper fuel-to-air ratio for safe and continuous operation.
US Building Codes & Plumbing Regulations
This specific failure directly implicates non-compliance with the National Fuel Gas Code, NFPA 54, concerning the provision of adequate air for combustion. While the code specifies requirements for the room or enclosure (e.g., cubic feet per BTU/hr or louvered openings), the principle extends to the appliance itself. A clogged FVIR flame arrestor creates a condition where the appliance, despite being in a code-compliant room, cannot physically access the available air. This violates the code’s foundational requirement that all gas appliances must be installed and maintained to ensure a sufficient supply of air for complete combustion. The manufacturer’s installation manual, which NFPA 54 defers to as a governing document, explicitly details the necessity of keeping the air intake screen clean; failure to do so constitutes improper maintenance and a violation of those instructions.
Furthermore, under frameworks like the Uniform Plumbing Code (UPC), operating an appliance in this state is a clear violation of sections mandating safe operation. The production of a lazy, lifting, and unstable pilot flame due to oxygen deprivation is a precursor to forming aldehydes and carbon monoxide. A certified inspector would immediately red-tag the appliance, as its safety systems are being compromised by an external blockage. The sealed door is part of the listed assembly, and its removal to keep the pilot lit constitutes an unapproved modification that voids the unit’s certification and violates the code’s prohibition against altering or disabling safety features of an approved appliance.
Professional Master Plumber Repair Sequence
- Full System Shutdown: Rotate the gas control valve knob to the ‘OFF’ position. Turn the corresponding shut-off valve on the gas supply line to the off position (handle perpendicular to the pipe). Wait at least 10 minutes for any residual gas to dissipate.
- Disconnect Gas and Control Lines: Using a pipe wrench and an appropriate crescent wrench for backing, carefully disconnect the main gas supply line from the gas control valve. Subsequently, use smaller wrenches to disconnect the pilot tube, main burner tube, and thermocouple from the valve body. Note their exact positions.
- Remove Burner Assembly: The entire burner assembly is typically secured to the bottom of the tank by several screws (often 1/4″ or 5/16″ hex heads). Remove these screws, and the assembly, including the main burner, pilot, and mounting plate, will drop down and out of the combustion chamber.
- Inspect and Clean Flame Arrestor: With the burner removed, use a bright flashlight to look up into the combustion chamber. You will see the flame arrestor plate at the very bottom. It will likely be covered in a blanket of lint and dust. Use a long, flexible wire brush (like a dryer vent brush) to agitate and break up the debris from the top side.
- Vacuum Debris: From underneath the water heater, use a shop-vac with a crevice tool to thoroughly vacuum the exterior side of the flame arrestor screen and the surrounding area. Alternate between brushing from the inside and vacuuming from the outside until the screen is completely clear and light is visible through it.
- Clean Burner Components: While the burner assembly is out, inspect the pilot orifice for any blockages and clean the main burner tube of any rust or scale. Ensure the thermocouple tip is clean.
- Reinstall Burner Assembly: Carefully guide the burner assembly back into the combustion chamber, ensuring the burner door gasket is in good condition (replace if compressed or damaged). Secure it with the screws you removed earlier, tightening them in a star pattern for an even seal.
- Reconnect All Lines: Reattach the thermocouple, pilot tube, and main burner tube to the gas control valve, ensuring they are snug but not overtightened. Apply a code-approved pipe thread sealant to the male threads of the main gas supply line and reconnect it to the control valve.
- Perform Leak Test and Relight: Slowly turn the main gas shut-off valve back on. Using a soapy water solution, check the main gas connection for any bubbles, indicating a leak. If secure, follow the manufacturer’s specific lighting instructions on the unit’s label to relight the pilot.
- Verify Operation: Once the pilot is stable, turn the thermostat up to call for heat. The main burner should ignite smoothly with a blue flame. Secure the outer door and observe the pilot and main burner for at least 10 minutes to confirm the repair was successful and the flame remains stable with the chamber fully sealed. Use a CO detector to verify safe combustion.
Expert Verdict: Is It Worth Repairing?
For an A.O. Smith gas water heater where the pilot extinguishes only when the door is installed, a repair is overwhelmingly the most cost-effective option. The return on investment (ROI) for this specific service is exceptionally high. The problem is not an indication of tank failure or a faulty gas control valve, but rather a maintenance issue—a clogged flame arrestor. The repair cost consists almost entirely of a technician’s labor to perform a deep cleaning of the combustion air intake system. This restores the unit to its original factory performance and safety specifications for a minimal outlay compared to the high cost of a new unit and installation, which can exceed $1,500-$2,500. Replacing the water heater for this specific symptom would be a significant and unnecessary expense unless the unit is already past its warranty period, showing signs of tank corrosion, or has a history of other component failures. The cleaning procedure directly addresses the root cause, extending the service life of an otherwise healthy appliance.
Frequently Asked Questions (FAQ)
Q: Why does the A.O. Smith pilot only go out when the access door is put on?
A: The access door seals the combustion chamber. With the door off, the flame is drawing insufficient but usable air from the room. When you install the door, you cut off this improper air source, forcing the pilot to rely on the designated FVIR air intake screen at the base of the heater. Because that screen is completely clogged, the pilot flame suffocates from lack of oxygen and extinguishes, causing the safety system to shut off the gas.
Q: Is it safe to temporarily run my water heater with the door off until it’s fixed?
A: Absolutely not. This is a severe safety hazard. The door is a critical component of the sealed combustion system. Running the unit without it can lead to flame rollout, where flames can escape the chamber, creating a fire risk. It also guarantees improper combustion, which can generate lethal levels of carbon monoxide that may not be vented correctly.
Q: Does a clogged FVIR flame arrestor mean my water heater is failing and needs replacement?
A: No, this is typically considered a maintenance issue, not a sign of imminent unit failure. The blockage is caused by environmental factors like dust, lint, and pet hair being drawn into the unit over time. A thorough cleaning of the flame arrestor screen will resolve the issue and restore proper function. It does not indicate a problem with the tank or the gas control system.
Q: What is the technical difference between the FVIR screen and the flame arrestor?
A: While often used interchangeably, they are distinct parts of the air intake system. The FVIR screen is typically the visible mesh on the very bottom perimeter of the water heater that you can see from the outside. The flame arrestor is a more robust, engineered plate located inside the unit, directly beneath the burner assembly. The repair for this issue involves removing the burner to gain access to and clean the *top side* of the flame arrestor plate inside the combustion chamber.