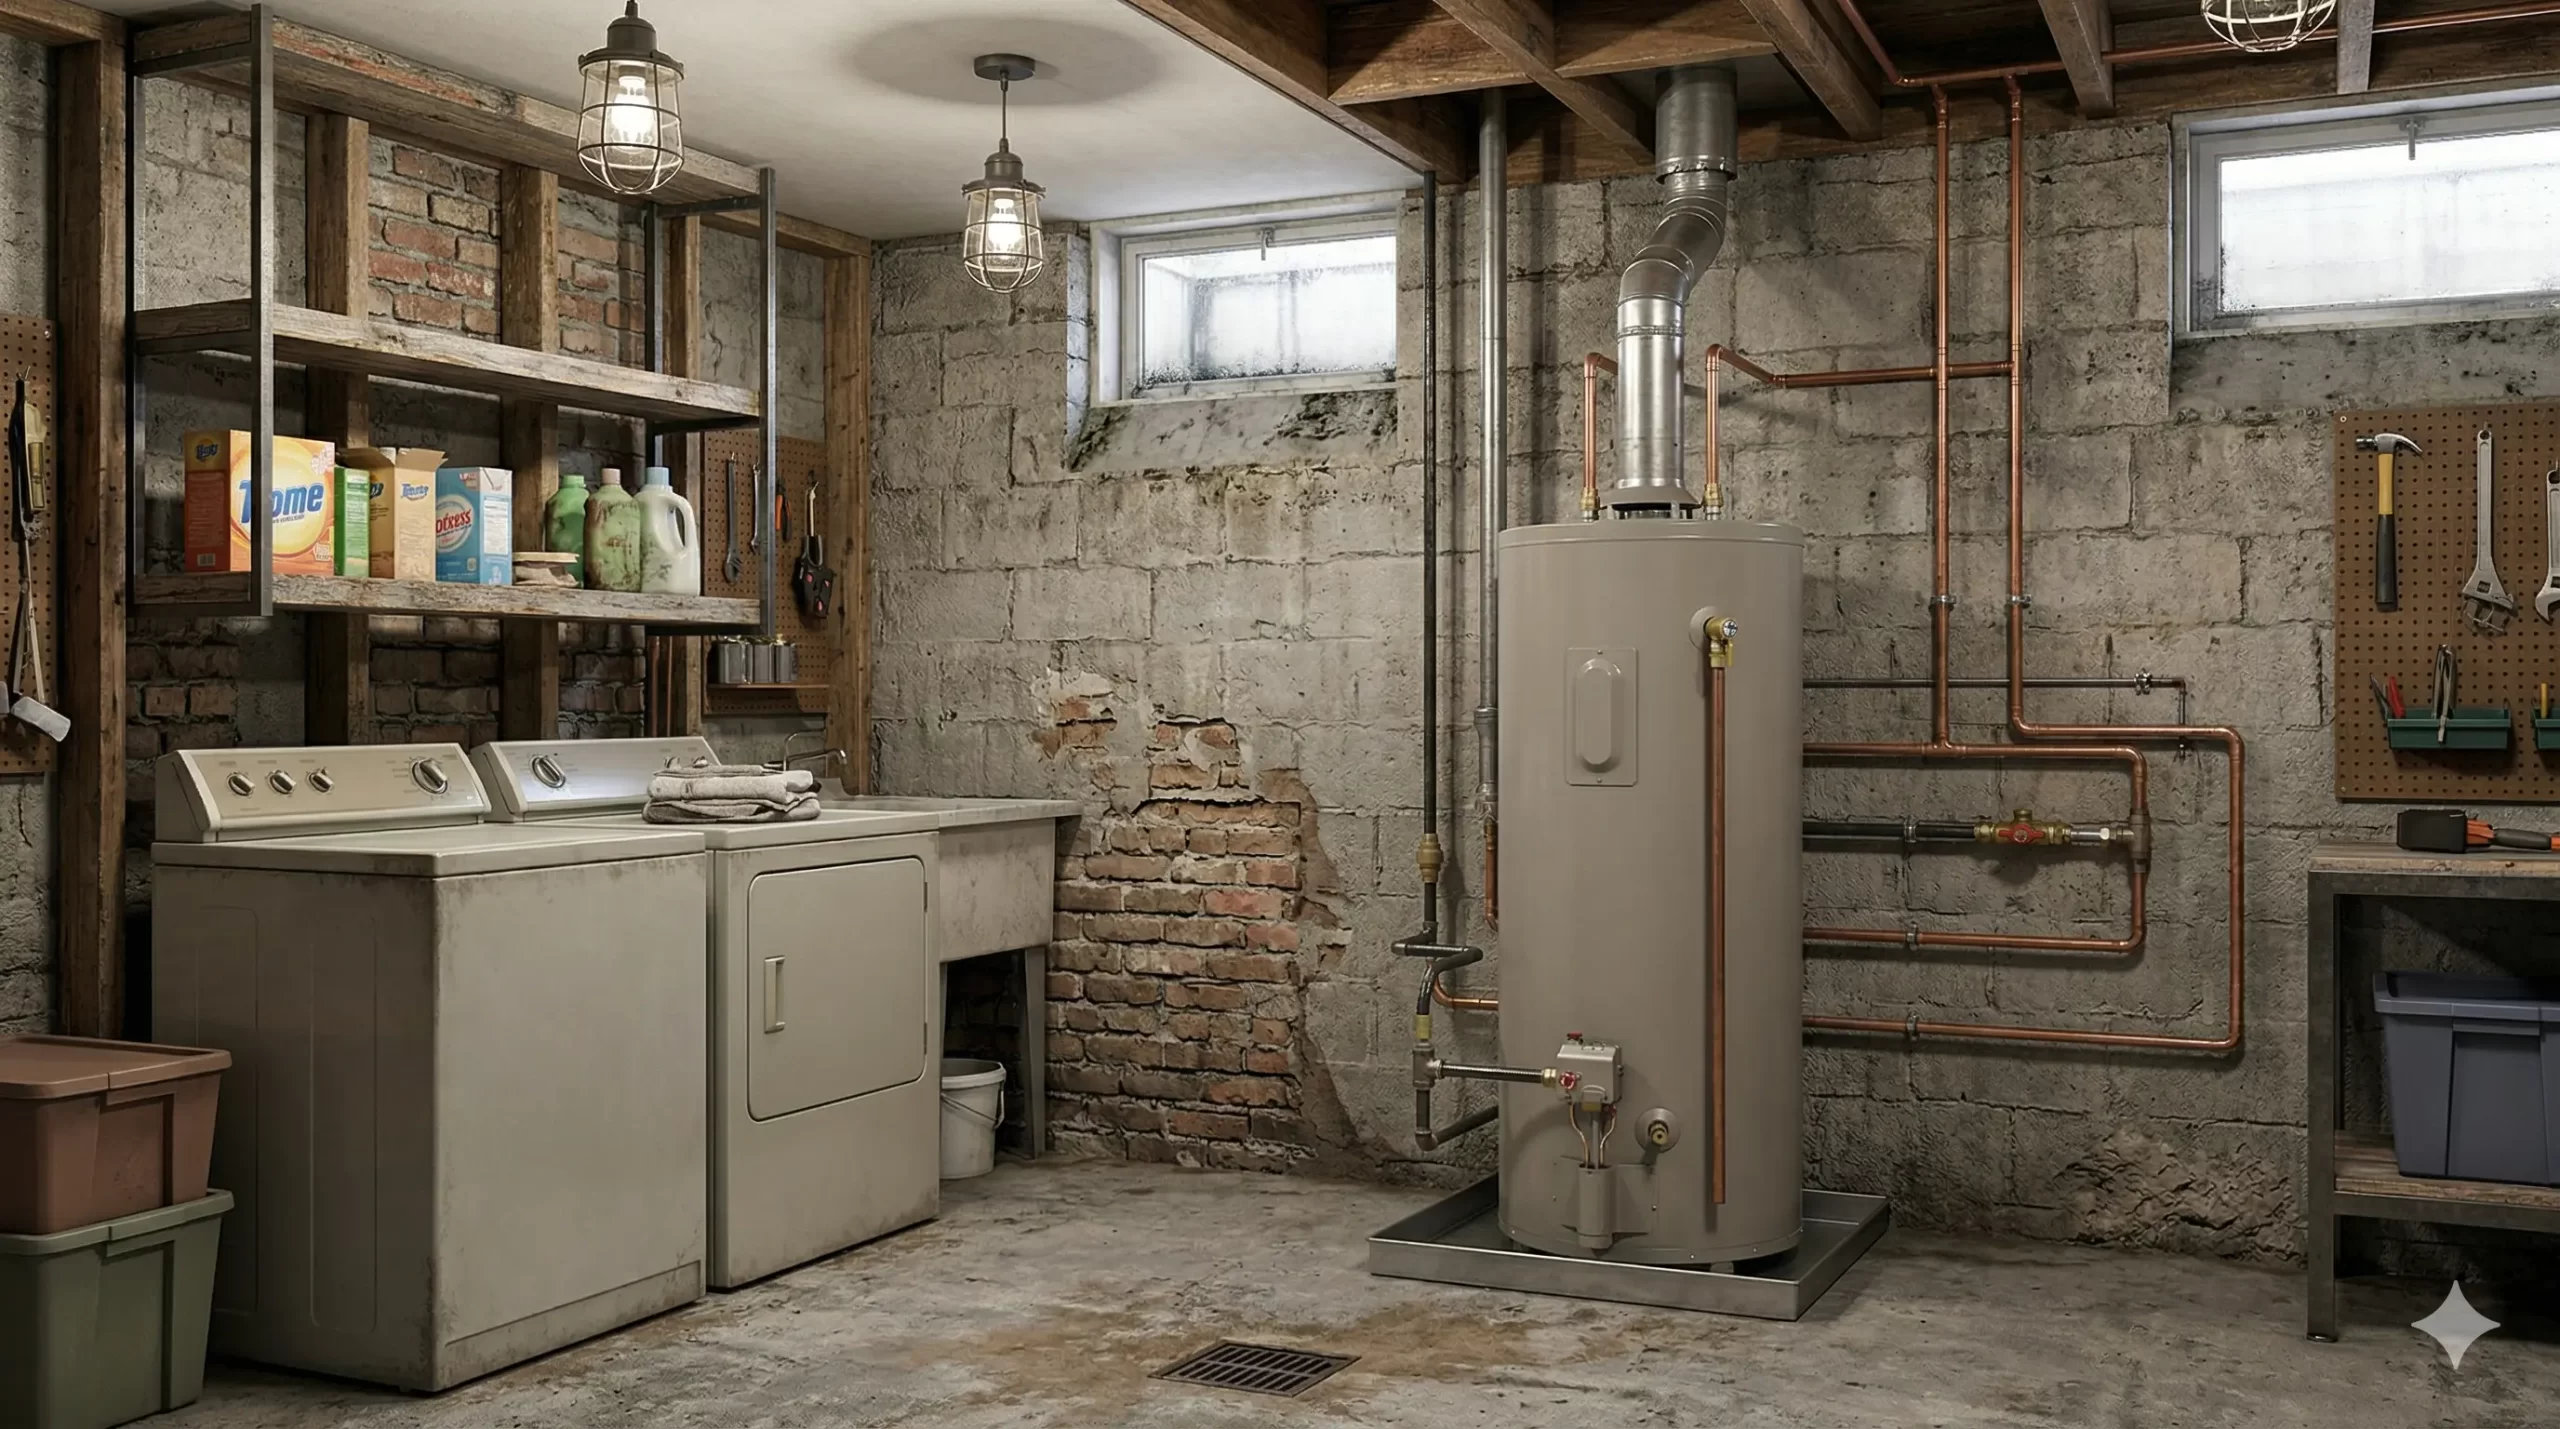
Your Bradford White pilot knob is stuck due to an internal gas valve failure. Do not force it. This guide explains why a full valve replacement is required.
️ Repair Profile
Required Diagnostics Tools
Pipe Wrenches (2), Flare Nut Wrench Set, Digital Manometer, Electronic Gas Leak Detector, Gas-Rated Pipe Thread Sealant, Wire Brush, Soapy Water Solution, Flashlight
Financial Breakdown: Parts vs. Licensed Labor
The replacement gas control valve assembly represents a majority of the cost due to its complex, factory-sealed safety mechanisms. Labor costs reflect the certified expertise required for gas line work, including mandatory pressure and leak testing to ensure code compliance.
Deep Technical Diagnosis: The Physics of the Failure
The inability to depress or rotate the pilot knob on a Bradford White water heater is almost exclusively symptomatic of a terminal seizure within the combination gas control valve (CGCV), typically a Honeywell WV8840 series or equivalent. This is not a simple jam; it’s a profound internal mechanical failure. The control knob is linked to a complex assembly of cams, spring-loaded safety interlocks, and gas-metering diaphragms. The primary point of failure is often the galvanic corrosion at the interface between the brass rotator stem and the cast aluminum valve body. Over years of thermal cycling, ambient humidity or trace moisture can penetrate the seal, creating an electrolytic reaction that effectively welds the two dissimilar metals together.
Internally, the valve relies on precise mechanical movements. When you press the knob, you are physically unseating a pilot safety valve against a spring, allowing gas to flow while you light it. The successful ignition generates a specific millivoltage from the thermocouple (approx. 25-30mV), which energizes an electromagnet to hold that valve open. A seizure in this depression mechanism prevents this initial sequence. Furthermore, rotation of the knob to set temperature actuates a separate regulator that modulates gas flow to the main burner. Contaminants in the gas supply, such as sulfur compounds or fine particulates, can, over a decade, combine with moisture to form acidic sludge that solidifies, blocking these pathways and seizing the rotary assembly. An improperly calibrated system running with poor stoichiometric combustion can also produce excess condensation, accelerating this internal degradation.
A diagnostic attempt with a manometer would be futile, as the valve’s failure precedes the pressure regulation stage. The core issue is a complete loss of mechanical actuation. The root causes of this seizure can be traced to several factors:
- Moisture Ingress: Persistent high humidity in the installation environment (e.g., damp basements) leads to condensation and corrosion on internal steel and brass components.
- Lubricant Degradation: The factory-applied grease on the internal O-rings and mechanical linkages dries out and hardens over 8-12 years of operation, causing excessive friction and binding.
- Thermal Stress Fracturing: Millions of heating and cooling cycles can cause micro-fractures or warping in the tight-tolerance internal cams, leading to a mechanical lock-up.
- Sediment Accumulation: Fine debris or oils from the gas main can accumulate and solidify within the pilot valve assembly, physically obstructing its movement.
- Safety Interlock Failure: The spring-loaded mechanism that ensures the pilot is established before the main valve can be opened may have broken or jumped its track, creating a permanent mechanical block.
US Building Codes & Plumbing Regulations
According to NFPA 54, the National Fuel Gas Code, all gas appliance controls must be listed and approved by a recognized agency (e.g., CSA Group) and must be maintained in accordance with the manufacturer’s installation instructions. A seized pilot knob renders the control inoperable and non-compliant. The code strictly prohibits the field repair, modification, or alteration of these factory-sealed gas control assemblies. Any attempt to force, disassemble, or lubricate the seized knob is a direct violation of these safety standards, as it compromises the certified integrity of the device. The only code-compliant resolution is the complete replacement of the gas control valve with an identical or manufacturer-approved OEM part.
The Uniform Plumbing Code (UPC) further reinforces this by stipulating that any replacement of a primary safety control on a gas appliance must be followed by a series of verification tests. After installing the new gas valve, the code mandates a thorough leak test of all disturbed piping connections, typically performed with a digital manometer to check for pressure drops or with a non-corrosive bubbling liquid. The plumber must also verify proper burner ignition, flame characteristics, and correct operation of the new control through its full range. Failure to perform and document these post-service safety checks constitutes a significant code violation and creates a hazardous condition.
Professional Master Plumber Repair Sequence
- Initiate Full System Shutdown: Locate the manual gas shutoff valve on the supply line leading to the water heater and turn it to the fully closed position (perpendicular to the pipe). Set the old gas valve knob to ‘OFF’, if any movement is possible at all. If the unit has electronic components, shut off the corresponding circuit breaker.
- Verify Gas Isolation: Confirm that the gas supply is completely stopped. A professional will attach a digital manometer to a downstream drip leg or test port to verify the pressure has dropped to zero.
- Disconnect Control and Sensor Lines: Using flare nut wrenches to prevent stripping the soft brass fittings, carefully disconnect the pilot tube, the main burner supply tube, the thermocouple or thermopile lead, and the T&P sensor wire from the gas control valve body.
- Remove the Seized Valve Assembly: Place one pipe wrench on the stationary inlet pipe (black iron) as a counter-hold. Use a second, larger pipe wrench on the body of the gas control valve itself, turning it counter-clockwise to unthread it from the inlet pipe. The counter-hold is critical to prevent damage to the tank’s threaded spud.
- Prepare Pipe Threads: Once the old valve is removed, thoroughly clean the male threads of the gas inlet pipe with a wire brush to remove old sealant and any corrosion. Inspect the threads for any signs of damage or stripping.
- Install the New Gas Control Valve: Apply a moderate amount of fresh, gas-rated pipe thread sealant or PTFE tape to the male pipe threads only. Carefully thread the new OEM gas valve on by hand to avoid cross-threading, then use a pipe wrench to tighten it until it is properly oriented and secure. Do not overtighten.
- Reconnect All Lines: Methodically re-attach the pilot tube, burner tube, thermocouple, and any other electrical connections to the new valve. Hand-tighten the flare nuts first, then give them a final 1/8 to 1/4 turn with the flare nut wrench to seal them.
- Perform Pressurized Leak Test: Slowly re-open the manual gas shutoff valve to pressurize the system. Using an electronic gas leak detector (‘sniffer’) or a soapy water solution, meticulously check every joint you disconnected and reconnected (especially the main NPT thread and all flare fittings) for any sign of a leak.
- Commission the New Valve: Follow the specific lighting instructions printed on the new valve or the water heater’s label. Depress and light the pilot, hold for the specified time (typically 60 seconds), and confirm the pilot remains lit upon release. Turn the knob to a temperature setting and verify clean, blue ignition of the main burner.
Expert Verdict: Is It Worth Repairing?
ROI Analysis for a Bradford White Gas Valve Replacement
When confronted with a seized pilot knob on a Bradford White heater, the decision to repair versus replace hinges almost entirely on the unit’s age. For a heater that is 1-6 years old and still under the manufacturer’s parts warranty, replacing the gas control valve is the only logical financial choice. While you will incur labor costs of several hundred dollars, this is a fraction of the $1,500-$2,500+ cost of a new water heater installation. The repair restores the unit to full functionality and preserves the investment in the appliance.
However, if the water heater is approaching or has surpassed 8-10 years of service, the return on investment for a costly gas valve replacement diminishes rapidly. Investing $500-$650 into an appliance near the end of its typical service life is a significant gamble. The anode rod is likely depleted, sediment is reducing efficiency, and the tank itself is at a higher risk of failure. In this scenario, the wiser financial move is to allocate the repair funds toward a complete replacement. This provides a brand new, more efficient unit with a full warranty, resetting the clock on service life and preventing the likelihood of another, different component failure in the near future.
Frequently Asked Questions (FAQ)
Q: Why can’t I just use WD-40 or a lubricant on the stuck pilot knob?
A: The seizure is deep inside the sealed gas valve body, not at the external knob interface. External lubricants cannot penetrate the internal mechanical linkage and can degrade the valve’s plastic components and rubber seals, potentially creating a gas leak. The valve is a non-serviceable safety component that must be replaced as a complete unit.
Q: Is a stuck pilot knob a sign the whole water heater is about to fail?
A: Not directly, but it is a major component failure that often correlates with the age of the unit. On a water heater over 8-10 years old, a seized gas valve should be seen as a serious warning sign. While the tank itself may not be leaking, it indicates the appliance’s components are reaching the end of their reliable service life, and a full replacement should be strongly considered.
Q: Will my Bradford White warranty cover a seized gas control valve?
A: Typically, the gas control valve is covered under the standard parts warranty, which is often 6 years for residential models. You would receive a replacement valve at no cost for the part itself. However, the warranty almost never covers the professional labor required to safely install the new valve, which is a significant portion of the total repair bill.
Q: Could a stuck gas valve have caused the ‘rumbling’ noise I hear sometimes?
A: Indirectly, yes. While rumbling or ‘kettling’ is usually caused by sediment buildup on the bottom of the tank, a failing gas valve that doesn’t regulate pressure correctly can exacerbate the issue by causing improper combustion. Replacing the seized valve, which is non-negotiable, may improve combustion, but the underlying sediment issue will likely remain and indicates the heater is aging.