
Stop Guessing and Get Answers
What is the absolute minimum distance between a well and septic tank?
Listen closely. The absolute, federally suggested minimum is 50 feet. But this is a baseline, not a guarantee of safety. Your state, county, or even city health code will have the final say, and it is almost always stricter. For the drainfield, or leach field, that distance jumps to a minimum of 100 feet. Never assume 50 feet is safe. Always verify your local code. The Texas Commission on Environmental Quality (TCEQ), for example, has extensive regulations based on system type and well classification. Your local health department is your source of truth.
Can my older property be ‘grandfathered in’ if it doesn’t meet current setbacks?
This is a dangerous misconception. While an old system might not trigger an immediate violation notice, the term ‘grandfathered in’ does not protect you from liability or contamination. The moment you need a major repair, a system replacement, or a new well permit, that ‘grandfathered’ status evaporates. You will be forced to comply with current, modern codes, which often means a complete and costly system redesign. More importantly, pathogens and nitrates don’t care about legal loopholes. If the system is too close, it’s a threat, period.
How does soil type affect septic setback distances?
Soil is everything. It’s the natural filter that cleans your septic effluent. Coarse, sandy or gravelly soils have high hydraulic conductivity, meaning wastewater travels through it very quickly, with less time for filtration. In these cases, setback distances may need to be increased to 150 or even 200 feet to ensure adequate pathogen die-off. Conversely, dense clay soil might have poor percolation, causing effluent to surface, which is a different kind of health hazard. A professional soil analysis, or ‘perc test,’ is non-negotiable for determining safe setbacks and proper system design.
What’s the first thing I should do if I suspect my well is contaminated?
Stop drinking the water immediately. Switch to bottled water for all consumption—drinking, cooking, brushing teeth. Do not boil the water, as this can concentrate certain chemical contaminants like nitrates. Your next call is to a certified water testing laboratory to get a sample kit. Test for, at minimum, total coliform, E. coli, and nitrates. While waiting for results, call a licensed well and septic professional to schedule an emergency inspection. Act fast. Every hour counts.

Identify the Threat Immediately
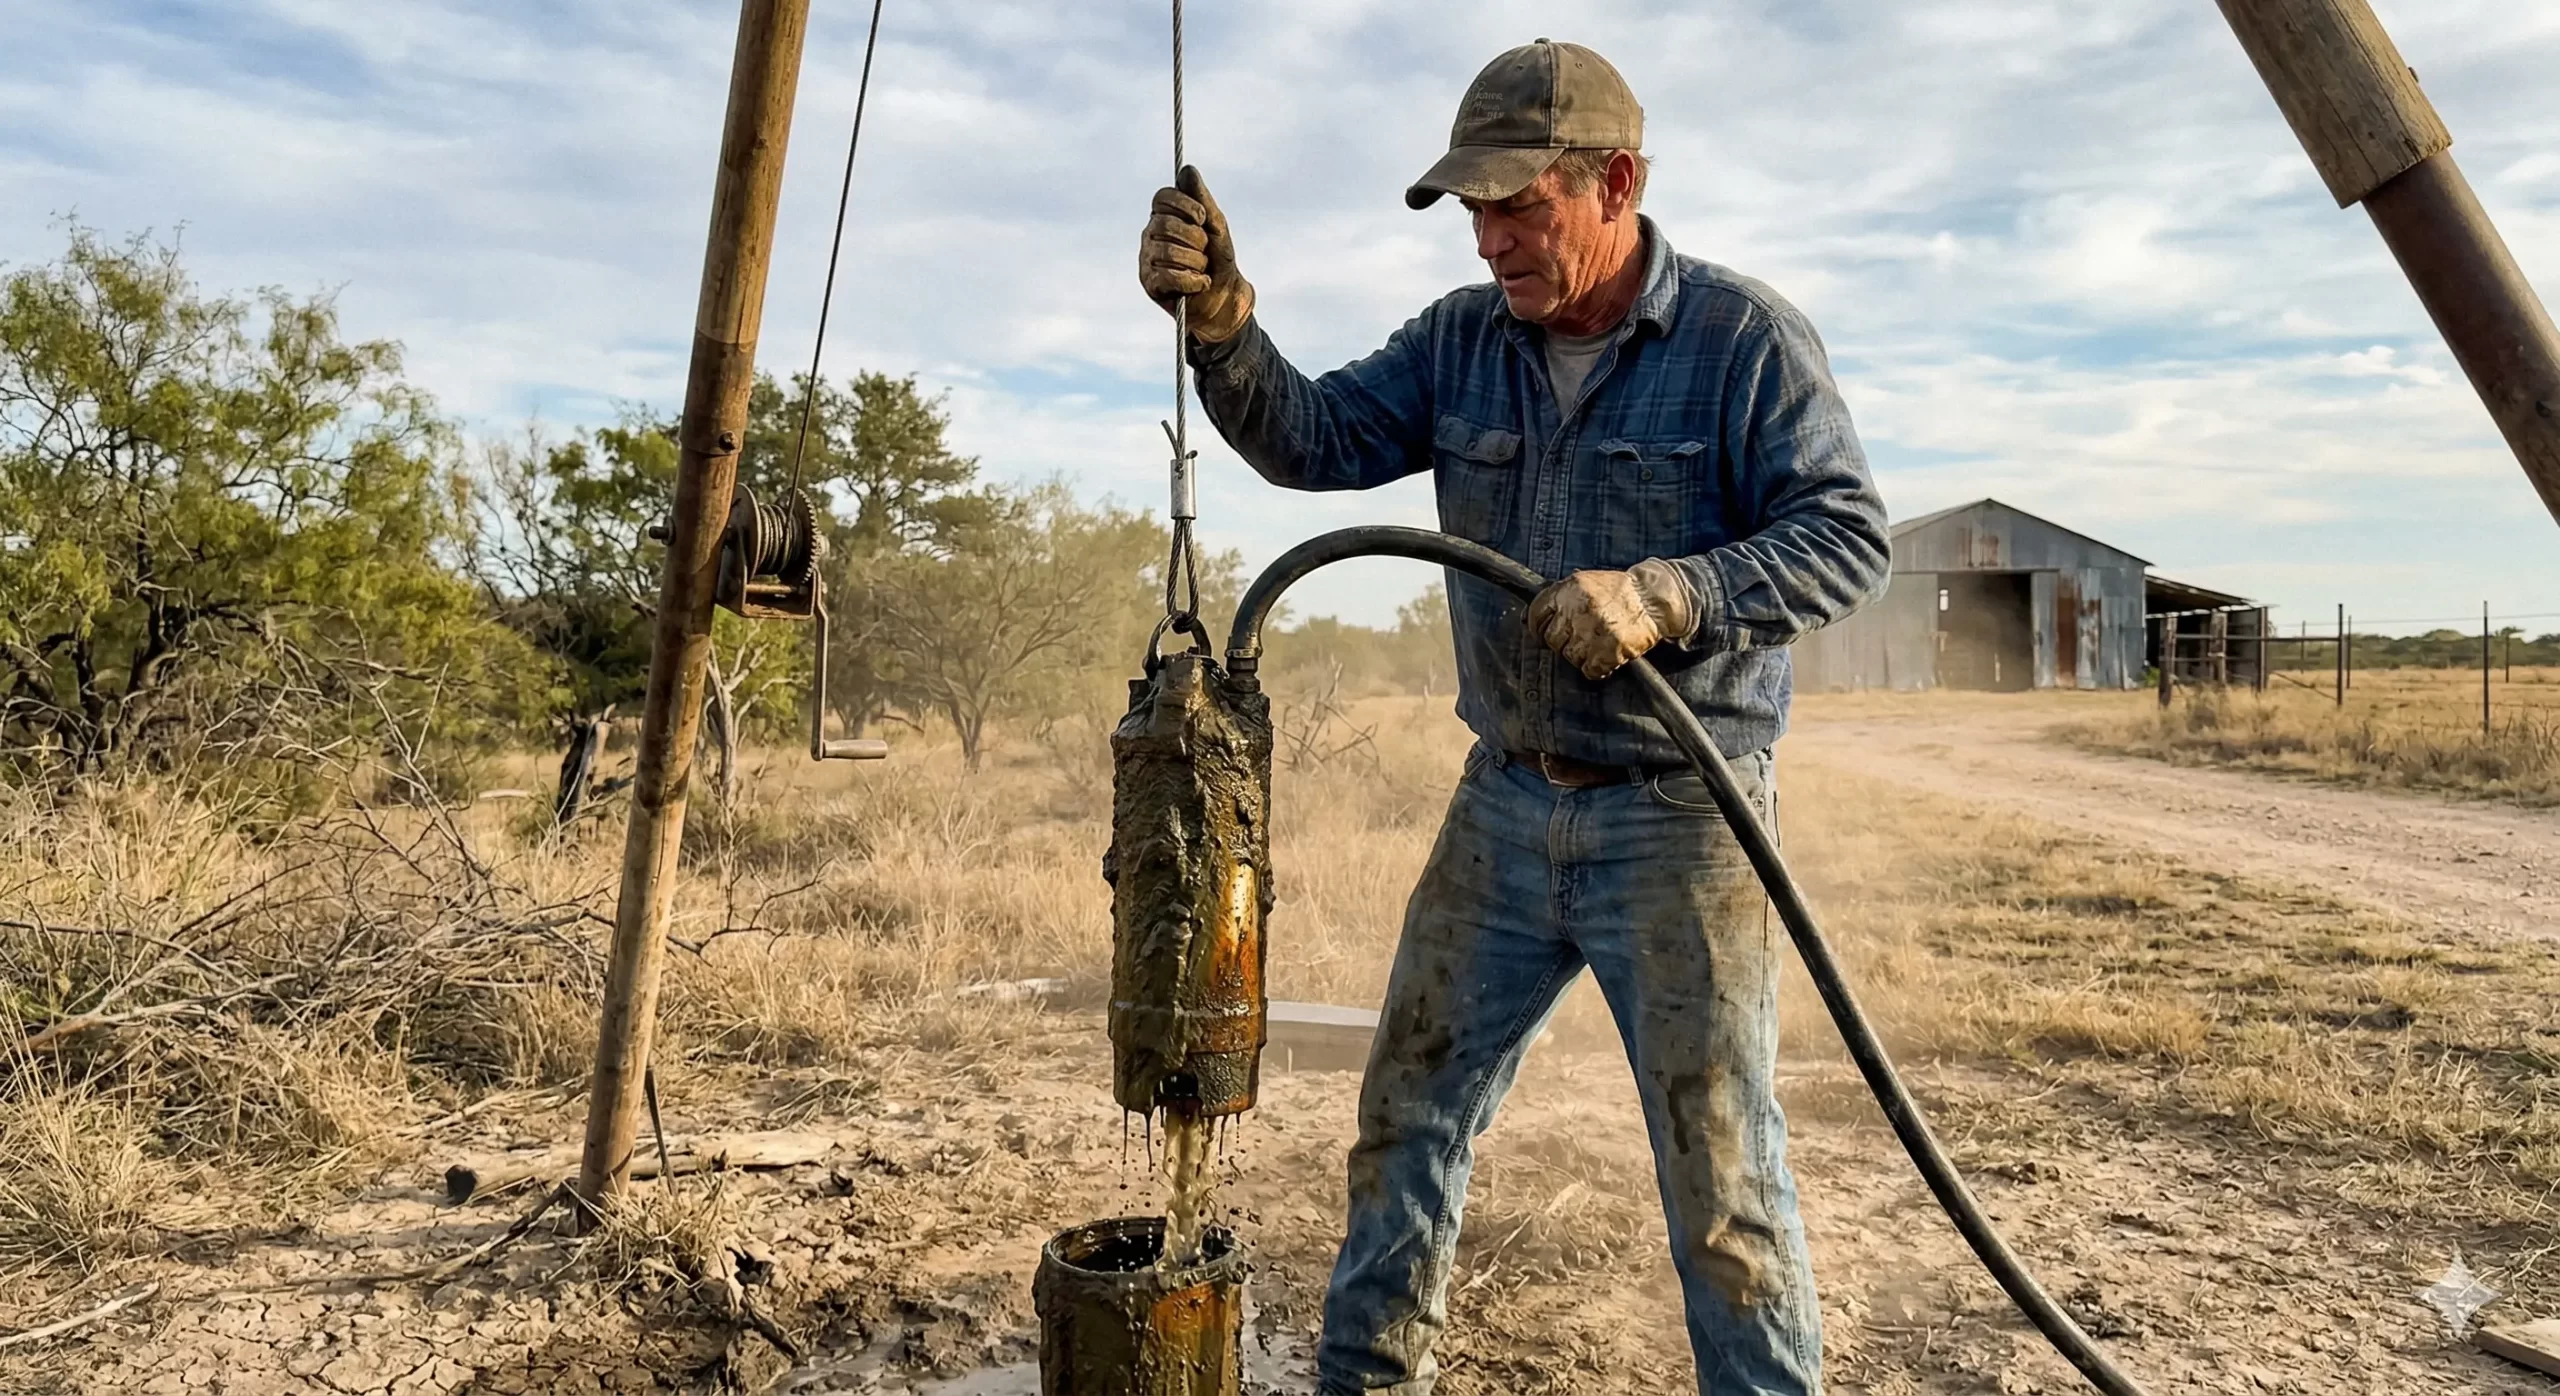
Your senses are your first line of defense. Do not ignore them. If you notice any of these signs, you have a potential cross-contamination event in progress. This is an emergency. If you smell sewage or hear gurgling, contact our Scott, LA septic repair specialists immediately.
- Smell: Does your water have a faint odor of rotten eggs (hydrogen sulfide) or, worse, a sewage or chemical smell? This is a massive red flag.
- Taste: A metallic, salty, or otherwise ‘off’ taste indicates the presence of dissolved solids that should not be there.
- Sight: Is your water cloudy, murky, or discolored (turbidity)? Are you seeing sediment in your toilet tanks or faucet aerators? This indicates a breach in the system’s integrity.
- Health: Are members of your household experiencing recurring gastrointestinal problems? Stomach cramps, diarrhea, and other issues can be a direct result of bacteriological contamination from a failing septic system.
If any of these are present, you move past your senses and into professional diagnostics. Now.
- Emergency Water Testing: Contact a state-certified lab. You need a comprehensive potability test. This must include, at a minimum, Total Coliform, E. coli, and Nitrate/Nitrite levels. E. coli is the smoking gun for sewage contamination. Its presence means fecal matter is in your water supply.
- Septic Dye Tracing: This is a definitive diagnostic. We introduce a non-toxic, brightly colored fluorescent dye into your septic tank via a toilet flush. We then monitor your well water, faucets, and any nearby surface water for the next 24-72 hours. If that dye appears in your well, you have confirmed a direct hydraulic connection between your septic system and your drinking water. It is an undeniable failure.
- Well Camera Inspection & Casing Integrity Test: We run a specialized camera down your well casing. We are looking for cracks, corrosion, or failed seals. A compromised well casing can allow contaminated surface water, not just septic effluent, to enter your water supply, especially after heavy rains.
Real-Life Case Study: The Henderson County Contamination Event

This isn’t a textbook scenario. This happened. A family in rural East Texas called us, concerned about persistent stomach bugs that had plagued them for months. Their water had a slight ‘earthy’ taste after heavy spring rains, which they dismissed as normal for their shallow well. Don’t ignore the warning signs. Reach out to our septic maintenance crew in Punta Gorda, FL today.
Their property was from the 1970s. The well and septic tank were only 40 feet apart, a clear violation of modern Texas TCEQ regulations. The soil was sandy loam, highly permeable. For years, the system likely functioned without issue. But decades of use, a neglected septic tank, and the gradual breakdown of the soil’s natural filtering capacity created a ticking time bomb. Whether it’s a minor repair or a major overhaul, our Lake Alfred, FL plumbing and septic crew has you covered.
We immediately took water samples. The results were chilling: positive for Total Coliform and E. coli. We initiated a dye trace. Within 18 hours, a faint fluorescent green hue was visible in a sample drawn from their kitchen tap. The hydraulic link was confirmed. Their septic system was directly feeding into their well’s zone of influence.
The solution was devastatingly expensive. The existing well had to be professionally decommissioned—filled with bentonite grout from bottom to top to seal it off and prevent it from becoming a conduit for further aquifer contamination. A new well had to be drilled over 150 feet away, at a much greater depth, to reach a protected water-bearing zone. The total cost, including the new well, pump, and plumbing, exceeded $25,000. This doesn’t account for the family’s medical bills or the stress of knowing they were drinking contaminated water for months. Upgrading your system? Let our Lamesa, TX installation experts walk you through the options.
Face the Financial Consequences
Thinking a setback violation is a minor issue is a catastrophic financial mistake. The costs are not hypothetical. They are real, and they are significant. Here is the invoice you do not want to receive when your system fails a setback inspection or contaminates your water supply.
| Service / Item | Estimated Cost Range (USD) | Urgency |
|---|---|---|
| Emergency Water Potability Test (Certified Lab) | $150 – $500 | Immediate |
| Professional Septic Dye Trace & System Diagnostic | $400 – $900 | Immediate |
| Decommissioning Contaminated Well (Grouting) | $1,500 – $4,000 | Mandatory |
| Drilling New Water Well (per foot, including casing) | $50 – $100 per foot | Critical |
| New Well Pump, Pressure Tank, and Controls | $3,000 – $7,000 | Critical |
| Relocating/Installing New Septic System (if necessary) | $8,000 – $30,000+ | As Required by Code |
The total cost to rectify a setback failure can easily range from $15,000 to over $50,000, depending on the geology of your property and the extent of the required work. This is a financially crippling event for most homeowners.
Implement These Protective Measures Now
You are the guardian of your water supply. Complacency is not an option. These actions are mandatory for any homeowner with a well and septic system. Navigating local soil conditions can be tricky. Consult our Bossier City, LA septic pumping guide.
- Map Your System: You must know the exact location of your wellhead, your septic tank, and your entire drainfield. If you don’t have a diagram from the installer, get a professional to locate and map it for you. Mark it. Know the distances.
- Guard the Wellhead: Ensure the ground around your well casing slopes away from it for at least 10 feet. This prevents surface water from pooling and seeping down the outside of the casing. Your well cap must be a sanitary, sealed cap, not just a loose lid. It should be vermin-proof and watertight.
- Maintain Your Septic Religiously: Get your septic tank pumped every 3-5 years, without fail. This removes solids and prevents them from being pushed into the drainfield, which can cause premature failure and hydraulic overload.
- Protect the Drainfield: The area over your drainfield is a sensitive wastewater treatment plant. Never drive over it. Never build anything on it. Do not plant trees with aggressive root systems nearby. Keep gutters and surface water diverted away from it.
- Test Annually: Once a year, every year, test your well water for bacteria and nitrates. This is your early warning system. It’s inexpensive insurance against a health catastrophe.
Hear From Homeowners We’ve Helped
⭐⭐⭐⭐⭐ – Sarah Jenkins, Bastrop, TX
“We had no idea our well was only 60 feet from our leach field until we tried to sell our house. The inspector flagged it and the deal fell through. It was a nightmare. Your team came out, performed a soil analysis, and designed a new, compact aerobic treatment system that met all the code requirements. You saved the sale and honestly, gave us peace of mind we didn’t know we were missing. Direct, fast, and worth every penny.”
⭐⭐⭐⭐⭐ – David Chen, Williamson County, TX
“Our kids were getting sick and we couldn’t figure out why. The doctor suggested we test our water. I called in a panic on a Sunday. They were here Monday morning. They showed me the positive coliform test, explained the setback issue with our old system, and laid out a clear, no-nonsense plan. It was a stressful situation, but their professionalism and urgency made us feel like we were in the right hands. Our water is clean and our family is healthy. You can’t put a price on that.”
Track the Contamination Timeline
Contamination is not an instant event. It is a slow, insidious process. Understanding this progression can help you identify the problem before it reaches a critical state.
Phase 1: The Silent Threat (Years 1-3)
The system is installed too close, but it’s new. The surrounding soil still has full filtering capacity. The effluent plume begins to form underground but is migrating slowly. There are no detectable signs in the well water. All tests are clear. A false sense of security has begun.Phase 2: The Subtle Warning (Years 3-5)
The biomat in the drainfield begins to mature, and the soil’s treatment capacity starts to diminish. After exceptionally heavy rains, a slight increase in turbidity or an ‘off’ taste might be noticed for a day or two before vanishing. Annual water tests might show slightly elevated but still ‘safe’ nitrate levels or non-zero total coliform counts (but negative for E. coli).Phase 3: The Clear Problem (Years 5-7)
The contaminant plume has now reached the well’s zone of influence. A persistent earthy or musty odor is present in the water. Low-grade, recurring gastrointestinal issues become more frequent in the household. Water tests now intermittently fail for total coliform. The system is actively compromising the water supply.Phase 4: Critical Failure (Years 7+)
The soil is fully saturated and offers little to no filtration. The well is continuously drawing in septic effluent. Water tests confirm the presence of E. coli, a direct indicator of fecal contamination. The health department issues a ‘Do Not Drink’ order. The well is condemned. The property is now in a state of crisis, requiring immediate, large-scale, and costly remediation.
Technically Reviewed By:
BlixBase Master Plumber Team
20+ Years Septic Industry Experience | Certified System Inspectors