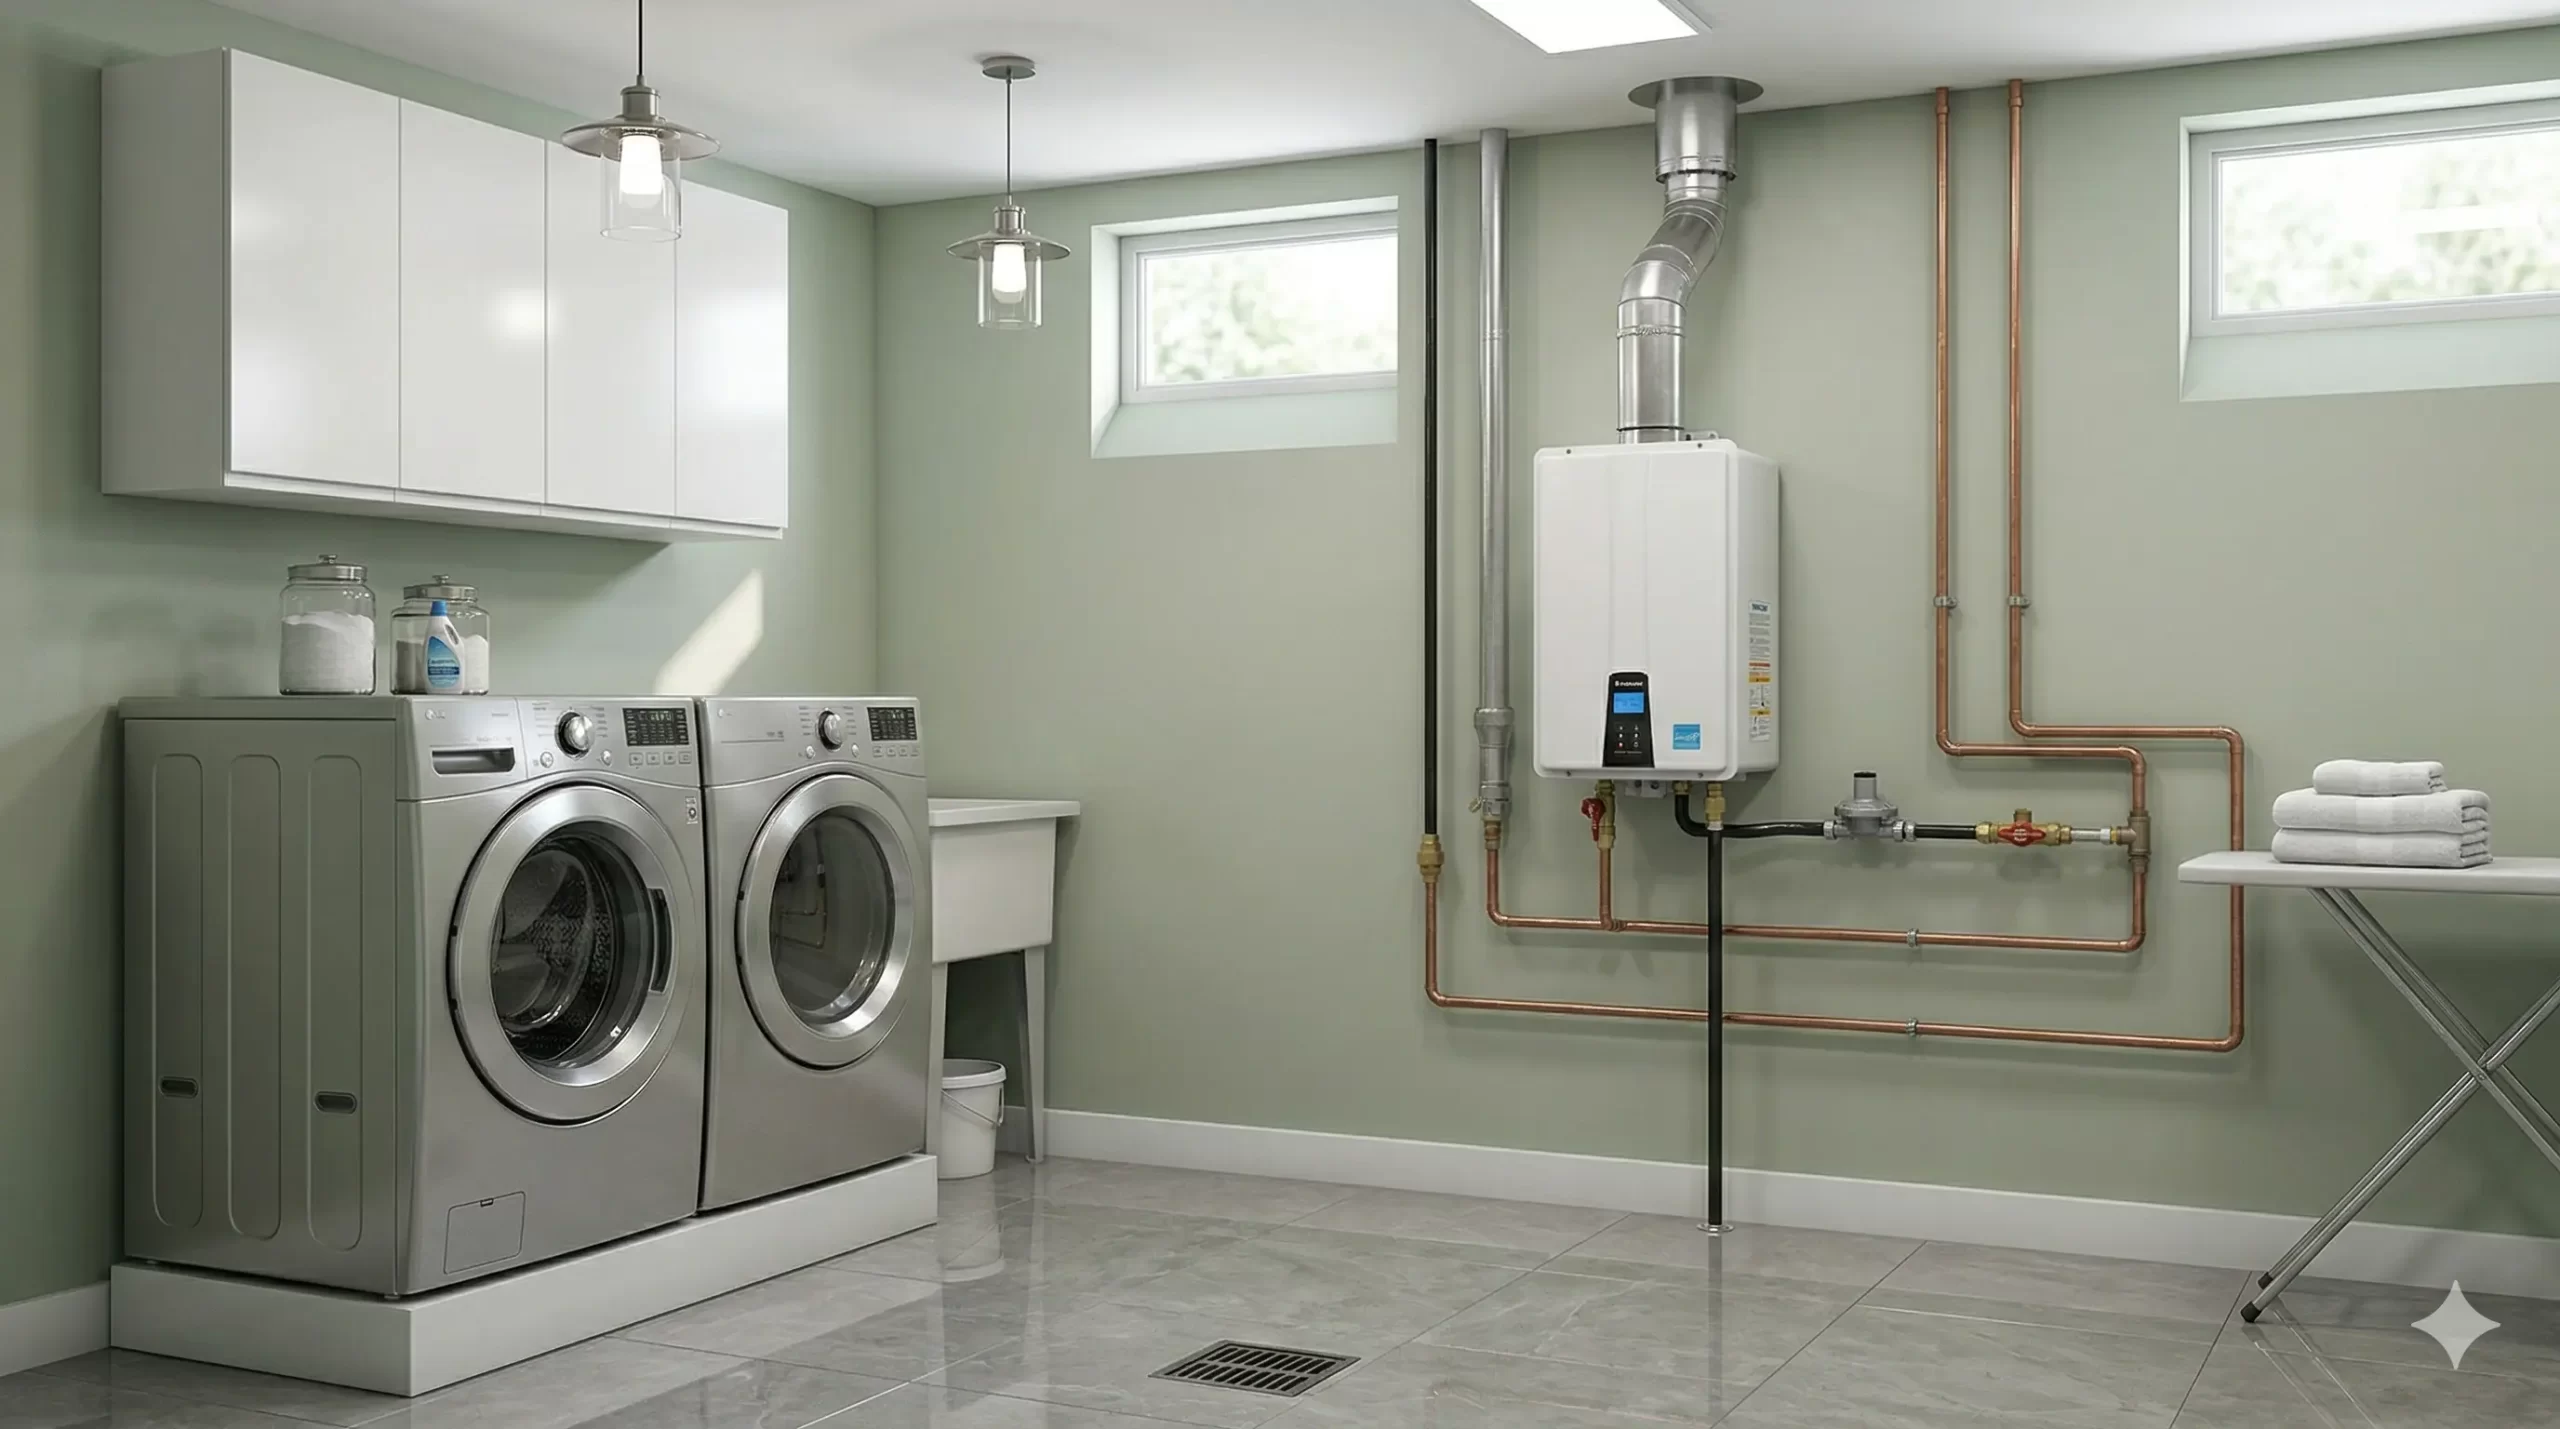
A grinding power vent blower on your gas water heater signals imminent bearing failure. This guide covers the high-urgency OEM replacement of the sealed assembly.
CRITICAL ALERT: A grinding blower is a precursor to a seized motor. If the blower fails to create sufficient draft, the pressure switch may not prevent ignition, allowing the burner to fire without proper evacuation of flue gases. This can lead to a rapid accumulation of lethal carbon monoxide (CO) in the living space. The failing motor can also overheat, creating a significant fire hazard at the top of a gas-fueled appliance. Do not operate the unit; immediately shut it down and ventilate the area.
️ Repair Profile
Required Diagnostics Tools
Multimeter, Manometer, 1/4″ & 5/16″ Nut Drivers, Channel-lock Pliers, Gas Leak Detector Solution, Safety Glasses, Work Gloves, Combustion Analyzer
Financial Breakdown: Parts vs. Licensed Labor
The cost is dominated by the OEM-specific blower assembly, a non-generic component engineered for precise airflow and safety compliance. The professional labor, while critical for safety and code adherence, represents a smaller portion as it is a direct replacement procedure.
Deep Technical Diagnosis: The Physics of the Failure
The audible grinding from a power vent blower is an unambiguous mechanical diagnostic, pointing directly to the catastrophic failure of internal components. The core of the issue lies within the sealed bearings of the inducer motor. These bearings are permanently lubricated and designed for the life of the assembly but are susceptible to degradation from extreme thermal cycling and the corrosive environment of flue gases. As the lubricant breaks down, metal-on-metal contact occurs, creating friction, heat, and the characteristic grinding sound. This failure mode exponentially increases the motor’s amperage draw, which can overload and damage the integrated control unit (ICU) if left unaddressed.
Simultaneously, the wear in the bearings introduces excessive play, or radial runout, in the motor shaft. This allows the precisely balanced inducer wheel (often a centrifugal ‘squirrel cage’ design) to deviate from its rotational axis. The resulting eccentric rotation causes the fins of the wheel to strike the stationary metal or high-temperature polymer volute (the scroll-shaped housing), creating a loud, rhythmic clatter that supplements the bearing grind. A technician can confirm this by checking for excessive shaft play after de-energizing the unit. While performing this diagnosis, it’s prudent to use a manometer to test the negative pressure (measured in inches of water column) the blower generates. A failing unit will often produce a fluctuating and below-spec draft, which can prevent the air pressure switch from closing, thus inhibiting the ignition sequence. This failure is not related to the flame rectification signal, typically measured in microamps, but is purely a mechanical-pneumatic fault. Improper stoichiometric combustion, often due to gas pressure issues or intake blockages, can create acidic condensate that accelerates this entire corrosive failure process.
- Sealed Bearing Lubricant Failure: High-temperature grease within the bearing assembly degrades over thousands of thermal cycles, leading to direct metal-to-metal friction.
- Inducer Wheel Imbalance: Corrosion or debris accumulation on the blower wheel creates an imbalance that exerts excessive force on the bearings, accelerating wear.
- Shaft Misalignment: Severe vibration or a manufacturing defect can cause shaft misalignment, leading to uneven bearing load and premature failure.
- Condensate-Induced Corrosion: Acidic byproducts from the combustion of natural gas can migrate into the bearing assembly, corroding the bearing races and balls.
- Motor Winding Stress: Sustained under-voltage or over-voltage conditions can cause the motor to run hot, breaking down bearing lubricant and winding insulation.
US Building Codes & Plumbing Regulations
According to NFPA 54, the National Fuel Gas Code, all gas appliances must be vented in such a way as to ensure the complete and safe removal of combustion products to the outdoors. A power vent blower making a grinding noise is mechanically compromised and cannot be guaranteed to provide the manufacturer-specified draft pressure. Operating an appliance in this condition constitutes a direct violation of the code’s fundamental safety requirements, as it creates a clear and present danger of flue gas spillage and carbon monoxide exposure.
Furthermore, the Uniform Plumbing Code (UPC) mandates that all appliances and their components be installed and maintained according to the manufacturer’s listing and instructions. Power vent blowers are non-serviceable, sealed assemblies. Attempting a field repair, such as lubricating bearings or replacing just the motor, is a modification of a listed safety component. This action voids the appliance’s certification (e.g., CSA or UL listing), rendering the installation non-compliant and creating significant liability. The only code-compliant solution is the installation of a direct OEM replacement assembly to restore the system to its original, tested, and certified state.
Professional Master Plumber Repair Sequence
- Isolate Utilities & Verify Zero Energy: Shut off the dedicated circuit breaker for the water heater. At the unit, verify zero voltage with a multimeter across the power input terminals. Close the manual gas shutoff valve located on the supply line to the appliance.
- Disconnect Vent Piping: Carefully detach the PVC or CPVC exhaust vent pipe from the blower assembly’s outlet collar. Note that some installations may require cutting the pipe and reinstalling with a new coupling.
- Document and Disconnect Controls: Take a clear photograph of the wiring harness and pressure switch tubing connections. Unplug the multi-pin molex connector from the integrated control unit. Gently twist and pull the silicone or rubber tube for the pressure switch from the nipple on the blower housing.
- Unfasten the Blower Assembly: Locate the mounting screws (typically 3-4) that secure the entire blower assembly to the top of the water heater’s flue opening. Using a 1/4″ or 5/16″ nut driver, remove these fasteners.
- Remove Failed Unit & Inspect Gasket: Carefully lift the old blower assembly straight up and off the water heater. Inspect the flue collar and remove the old gasket. Clean the mounting surface to ensure a proper seal for the new unit.
- Install New OEM Blower: Position the new gasket provided with the replacement assembly over the flue collar. Place the new blower unit onto the gasket, aligning the mounting holes. Secure it with the original fasteners, tightening them in a star pattern to apply even pressure and prevent leaks.
- Re-establish Connections: Firmly plug the new blower’s molex connector back into the control unit. Reattach the pressure switch tubing to the nipple on the new housing. Reconnect the exhaust vent piping using the appropriate PVC primer and cement as per manufacturer instructions and local code.
- Restore Utilities & Perform Leak Check: Slowly open the gas shutoff valve. Apply a gas leak detection solution to the valve and any fittings that were disturbed to confirm there are no leaks. Restore power at the circuit breaker.
- Initiate Test Cycle: Set the water heater’s thermostat to call for heat. Listen for the smooth, quiet operation of the new blower. Confirm the unit proceeds through its ignition sequence and the main burner ignites properly.
- Final Performance Verification: For a professional installation, use a manometer to confirm the induced draft pressure is within the manufacturer’s specified range (e.g., -1.2″ to -1.5″ W.C.). Use a combustion analyzer to verify CO levels in the flue gas are within safe limits, ensuring complete and clean combustion.
Expert Verdict: Is It Worth Repairing?
When faced with a failing power vent blower, the repair-versus-replace decision hinges almost entirely on the age and condition of the water heater tank itself. The return on investment (ROI) for replacing only the blower assembly is exceptionally high if the water heater is less than 7 years old and has no signs of tank leakage or advanced anode rod depletion. The repair cost, while significant, is a fraction of a full unit replacement and restores the appliance to its original operational safety and efficiency, extending its service life for several more years.
Conversely, investing in a new blower assembly for a water heater that is over 10 years old or approaching the end of its warranty period yields a poor ROI. The likelihood of a subsequent, different component failure (e.g., gas control valve, or worse, tank failure) is high. In this scenario, the cost of the blower repair is better applied toward a complete replacement, which provides a new warranty, modern efficiency standards, and peace of mind against cascading failures of an aging system.
Frequently Asked Questions (FAQ)
Q: Can I just spray lubricant like WD-40 into the blower motor to stop the grinding?
A: Absolutely not. The motor uses sealed bearings that cannot be re-lubricated. Spraying a solvent-based lubricant like WD-40 is a severe fire hazard, will quickly evaporate from the heat, and only masks a critical mechanical failure for a very short time before a complete seizure.
Q: What is the immediate danger if I continue to run the water heater with this noise?
A: The most significant danger is catastrophic blower failure, which can lead to improper venting of combustion gases. This can cause lethal carbon monoxide (CO) to spill into your home. A secondary risk is the motor overheating and seizing, creating a potential fire hazard on top of the appliance.
Q: Why is an official OEM blower assembly so much more expensive than a generic motor?
A: The OEM assembly is an engineered safety component that includes the motor, the precisely balanced inducer wheel, the housing (volute), and mounting gaskets. It’s designed and tested as a complete system to produce the exact draft required for safe and efficient combustion for your specific water heater model, which is why it cannot be substituted with a generic part.
Q: Could a bird’s nest in my vent pipe cause a grinding noise?
A: A blockage like a nest will cause the motor to strain, typically producing a loud humming or high-pitched whining sound due to airflow restriction. A deep, metallic grinding or scraping sound is almost exclusively an internal failure of the motor bearings or the inducer wheel hitting its housing, not an external blockage.